Virtual reality hasn't really been a kid-friendly activity until Nintendo decided to toss its digital hat in the ring with the latest addition to the Labo activity line.
My household is full of virtual reality headsets. We have a pre-release HTC Vive, an original Oculus Rift, PlayStation VR, and even a Samsung Gear VR headset. VR is a way of life in our home. But the kids almost never get a chance to play with any of the gear because they’re a bit too young. We’d experimented to let our eldest son, who will be 11 in the summer, play with Oculus Rift in our old office, but it turned out to be a bit too much stimulation for him and the kids are no longer allowed to play in virtual reality at all.
Until Labo VR.
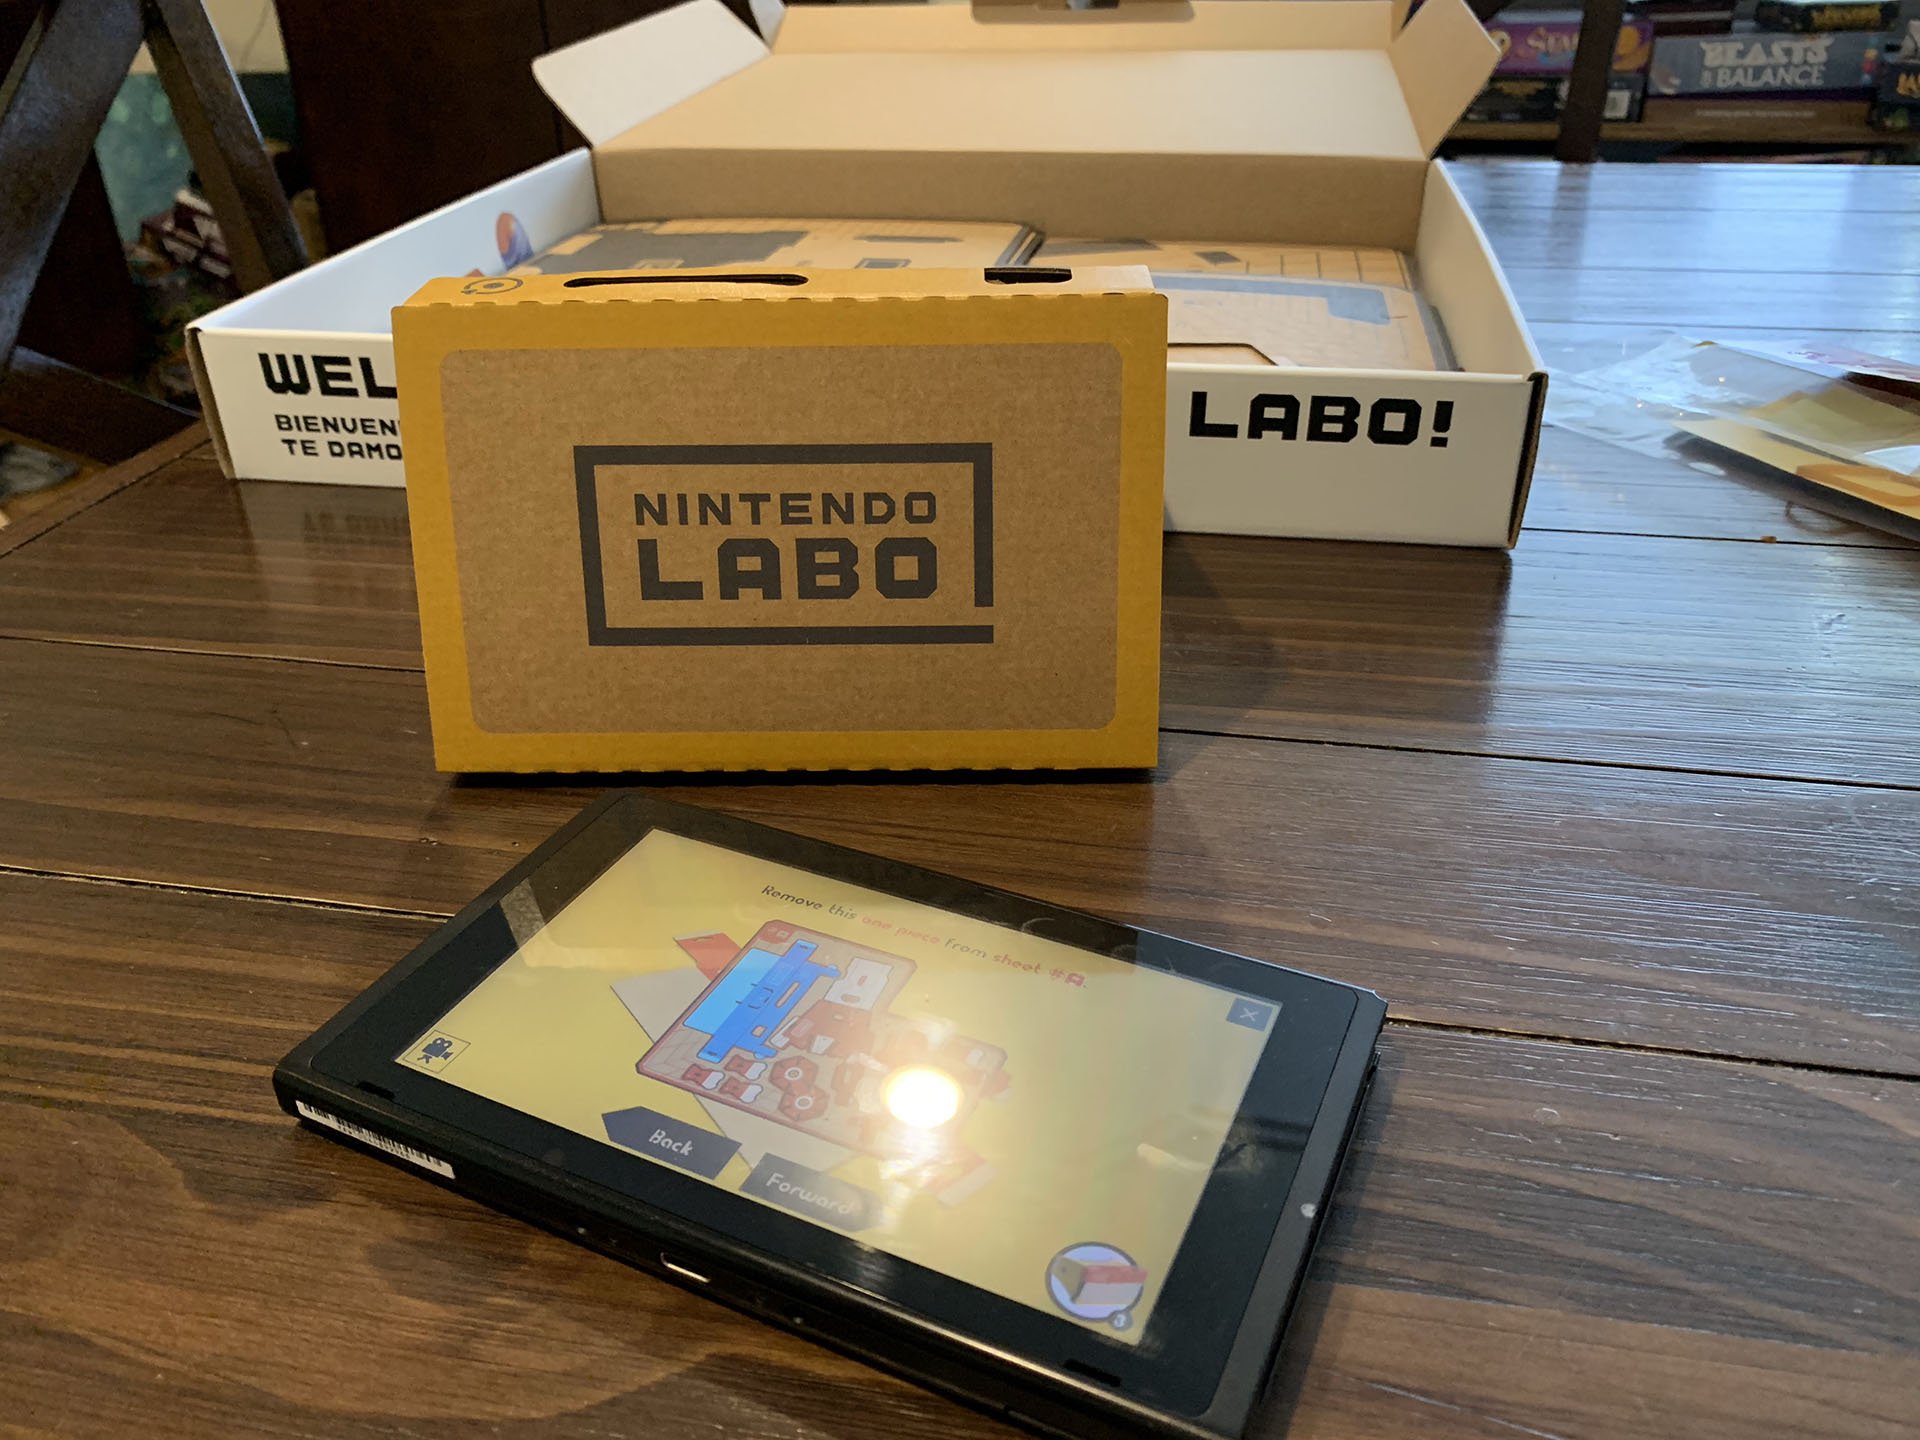
I sat down to put the Labo VR starter kit together, just to see if the VR was decent enough to pass onto my littlest, who’s almost 7. It was quite the journey to go from flat-packed IKEA-style cardboard to a fully realized VR headset. It took an hour to build the Labo VR headset, between other work and responsibilities and capturing my steps along the way.
The blaster Toy-Con is also included in the Nintendo Labo VR Starter Kit (Toy-Con 04), which you can purchase for $39.99 anywhere that Nintendo Switch is sold. Check out our article on Everything You Need To Know About Labo VR for more information on what else you can purchase and build.
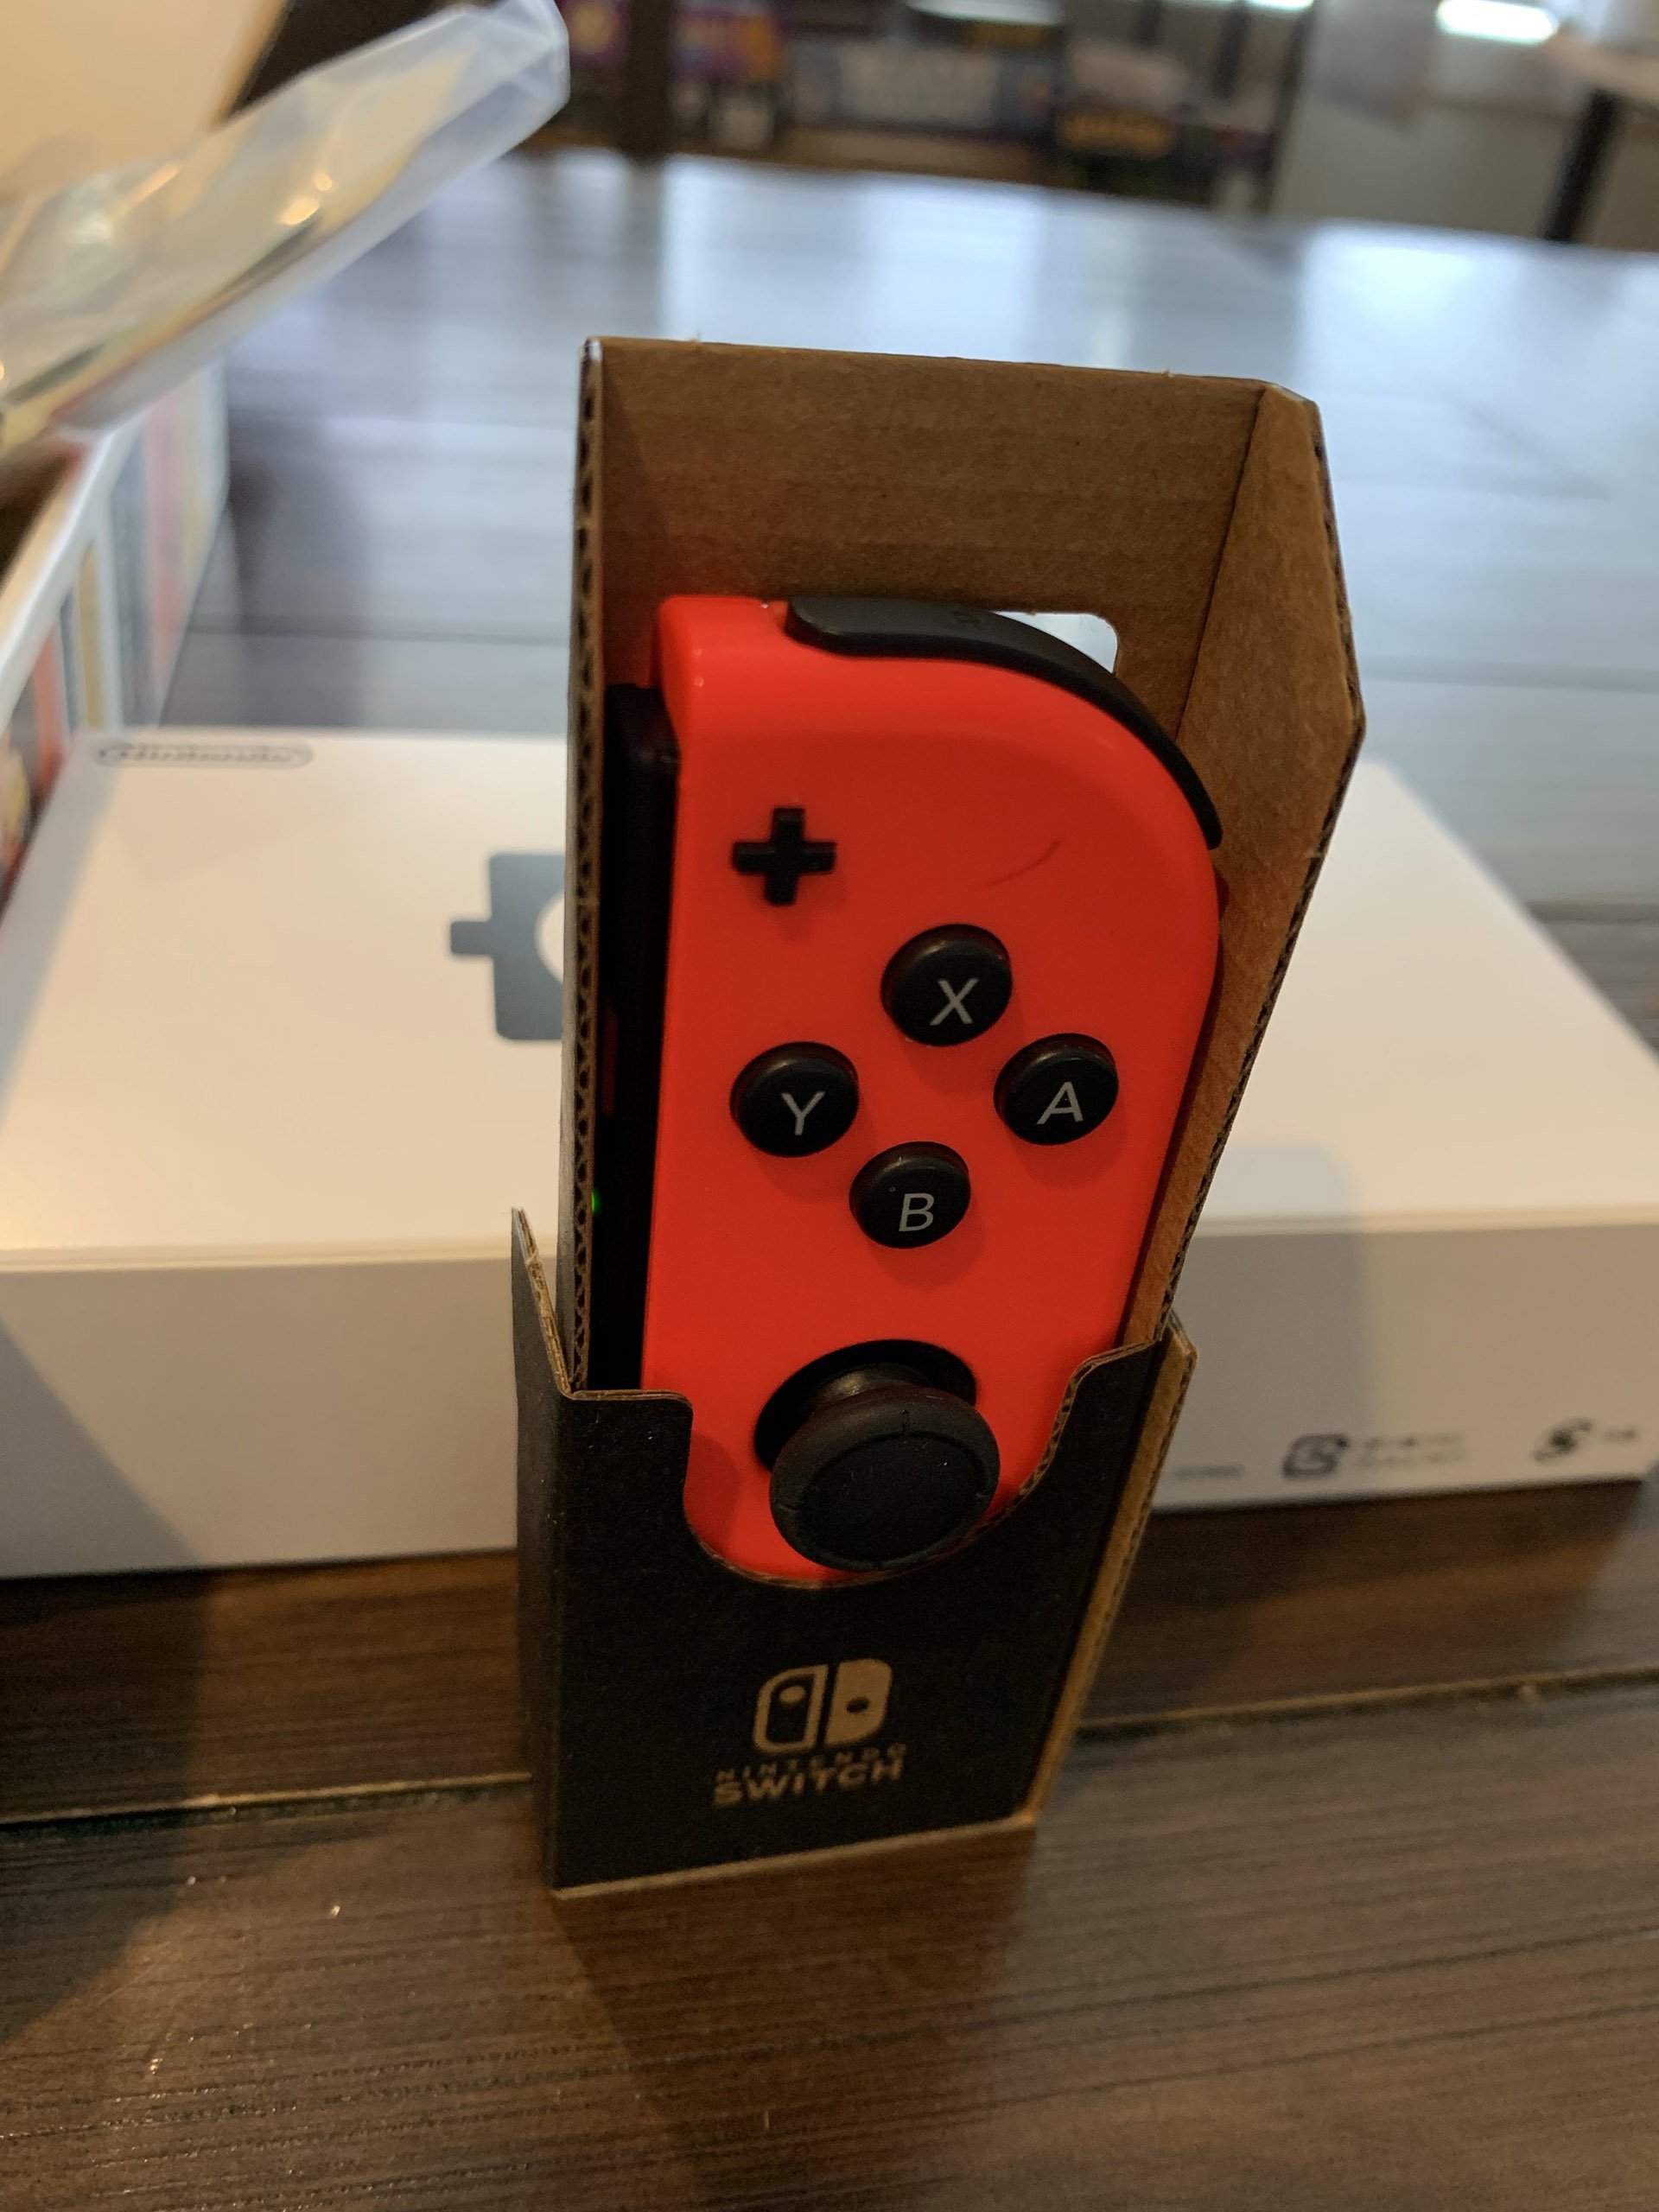
The first Labo did was introduce me to building with cardboard with this neat Joy Con holder. It’s to prepare for how to fold and insert tabs carefully. Everything with Labo, especially Labo VR, should be done carefully.

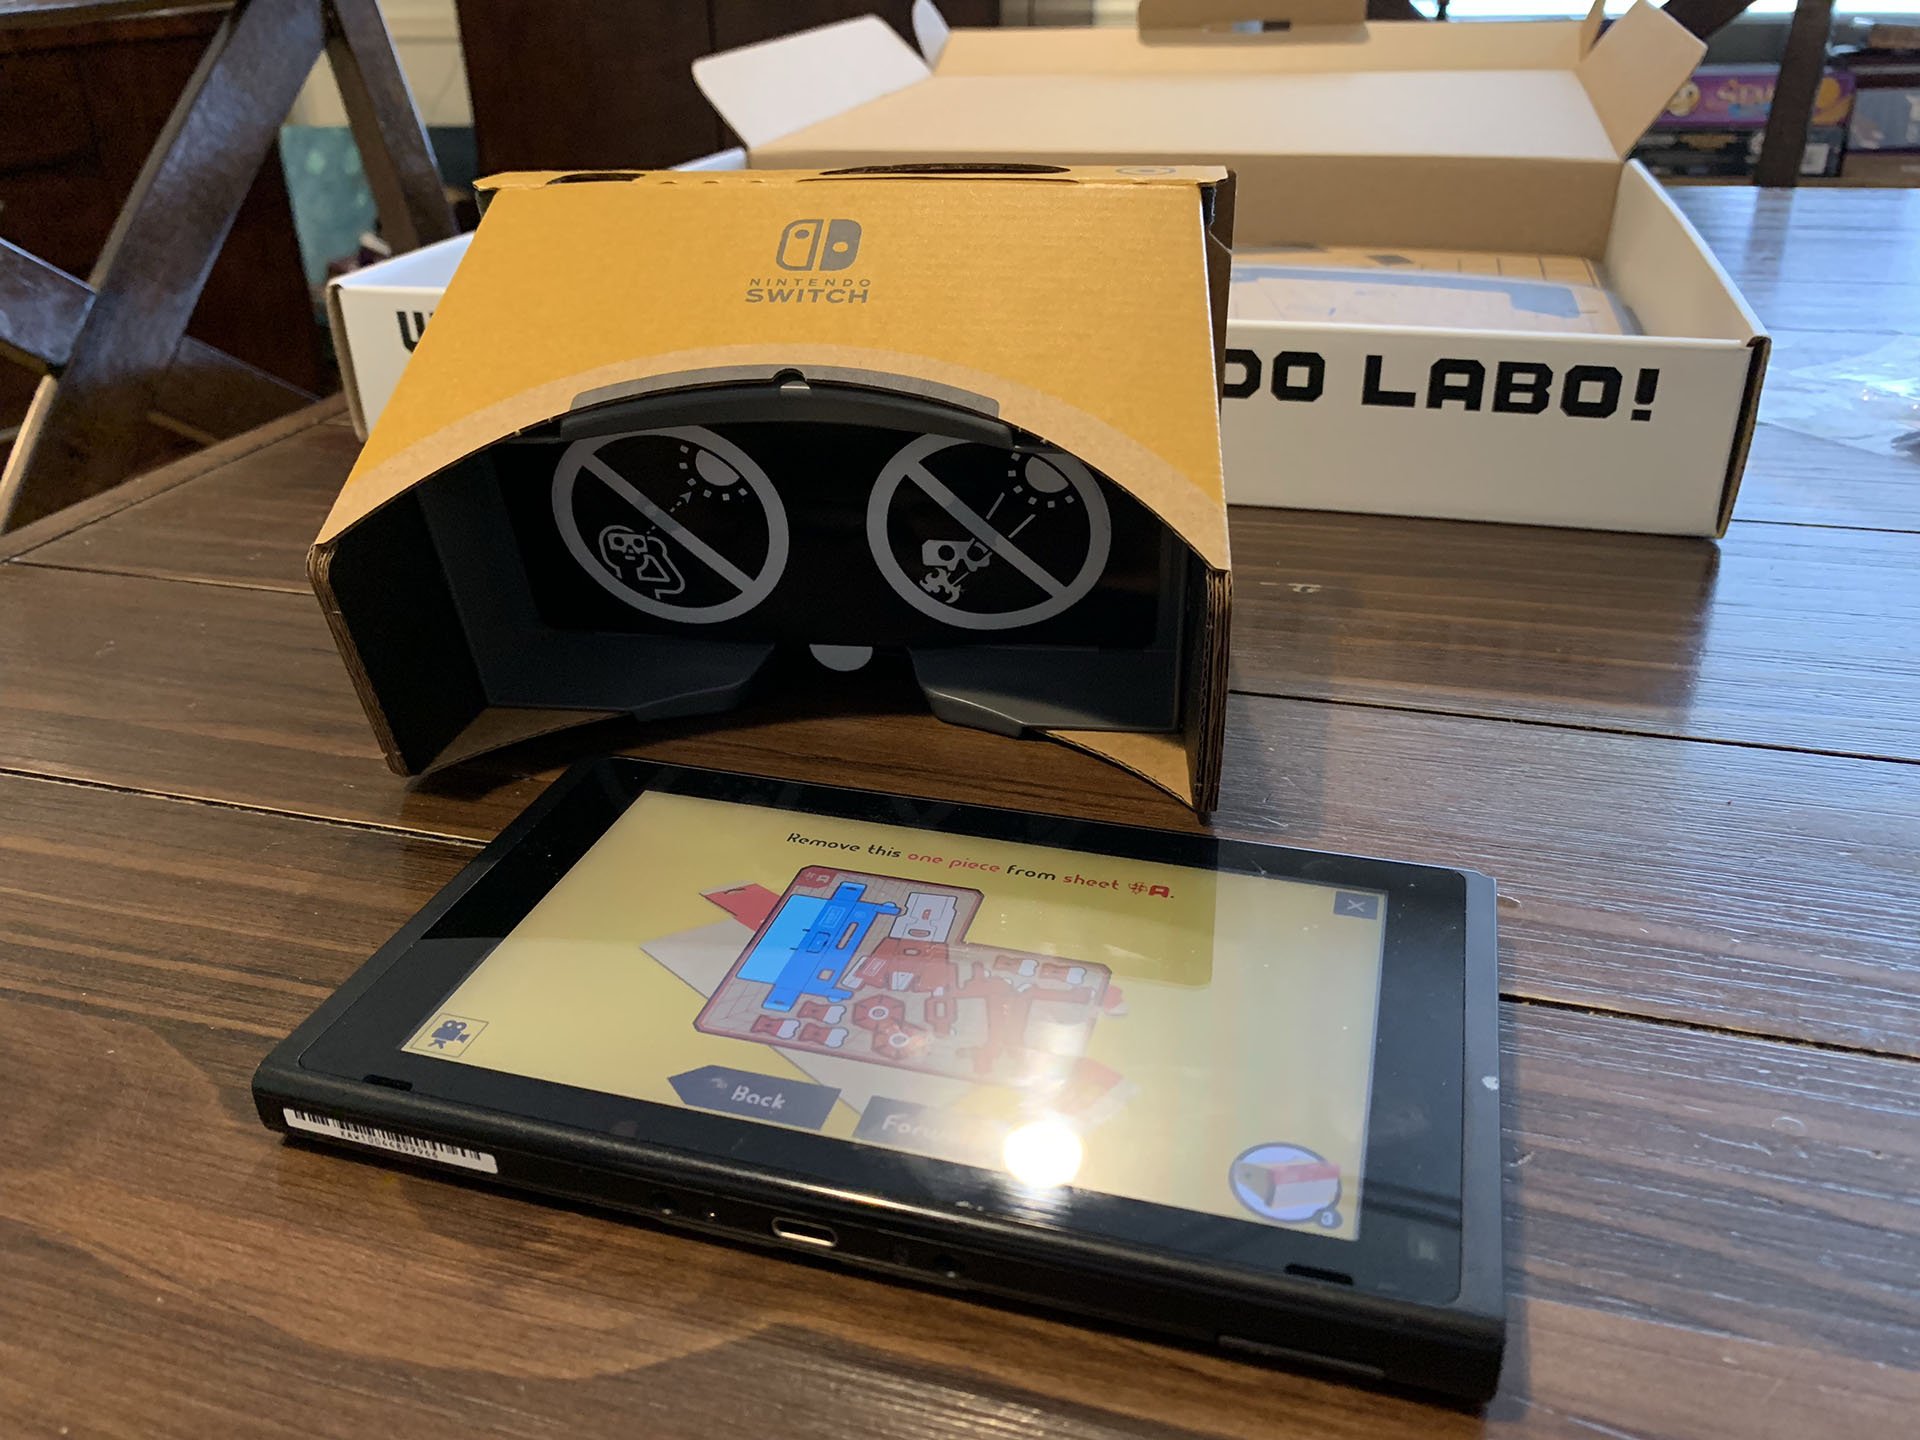
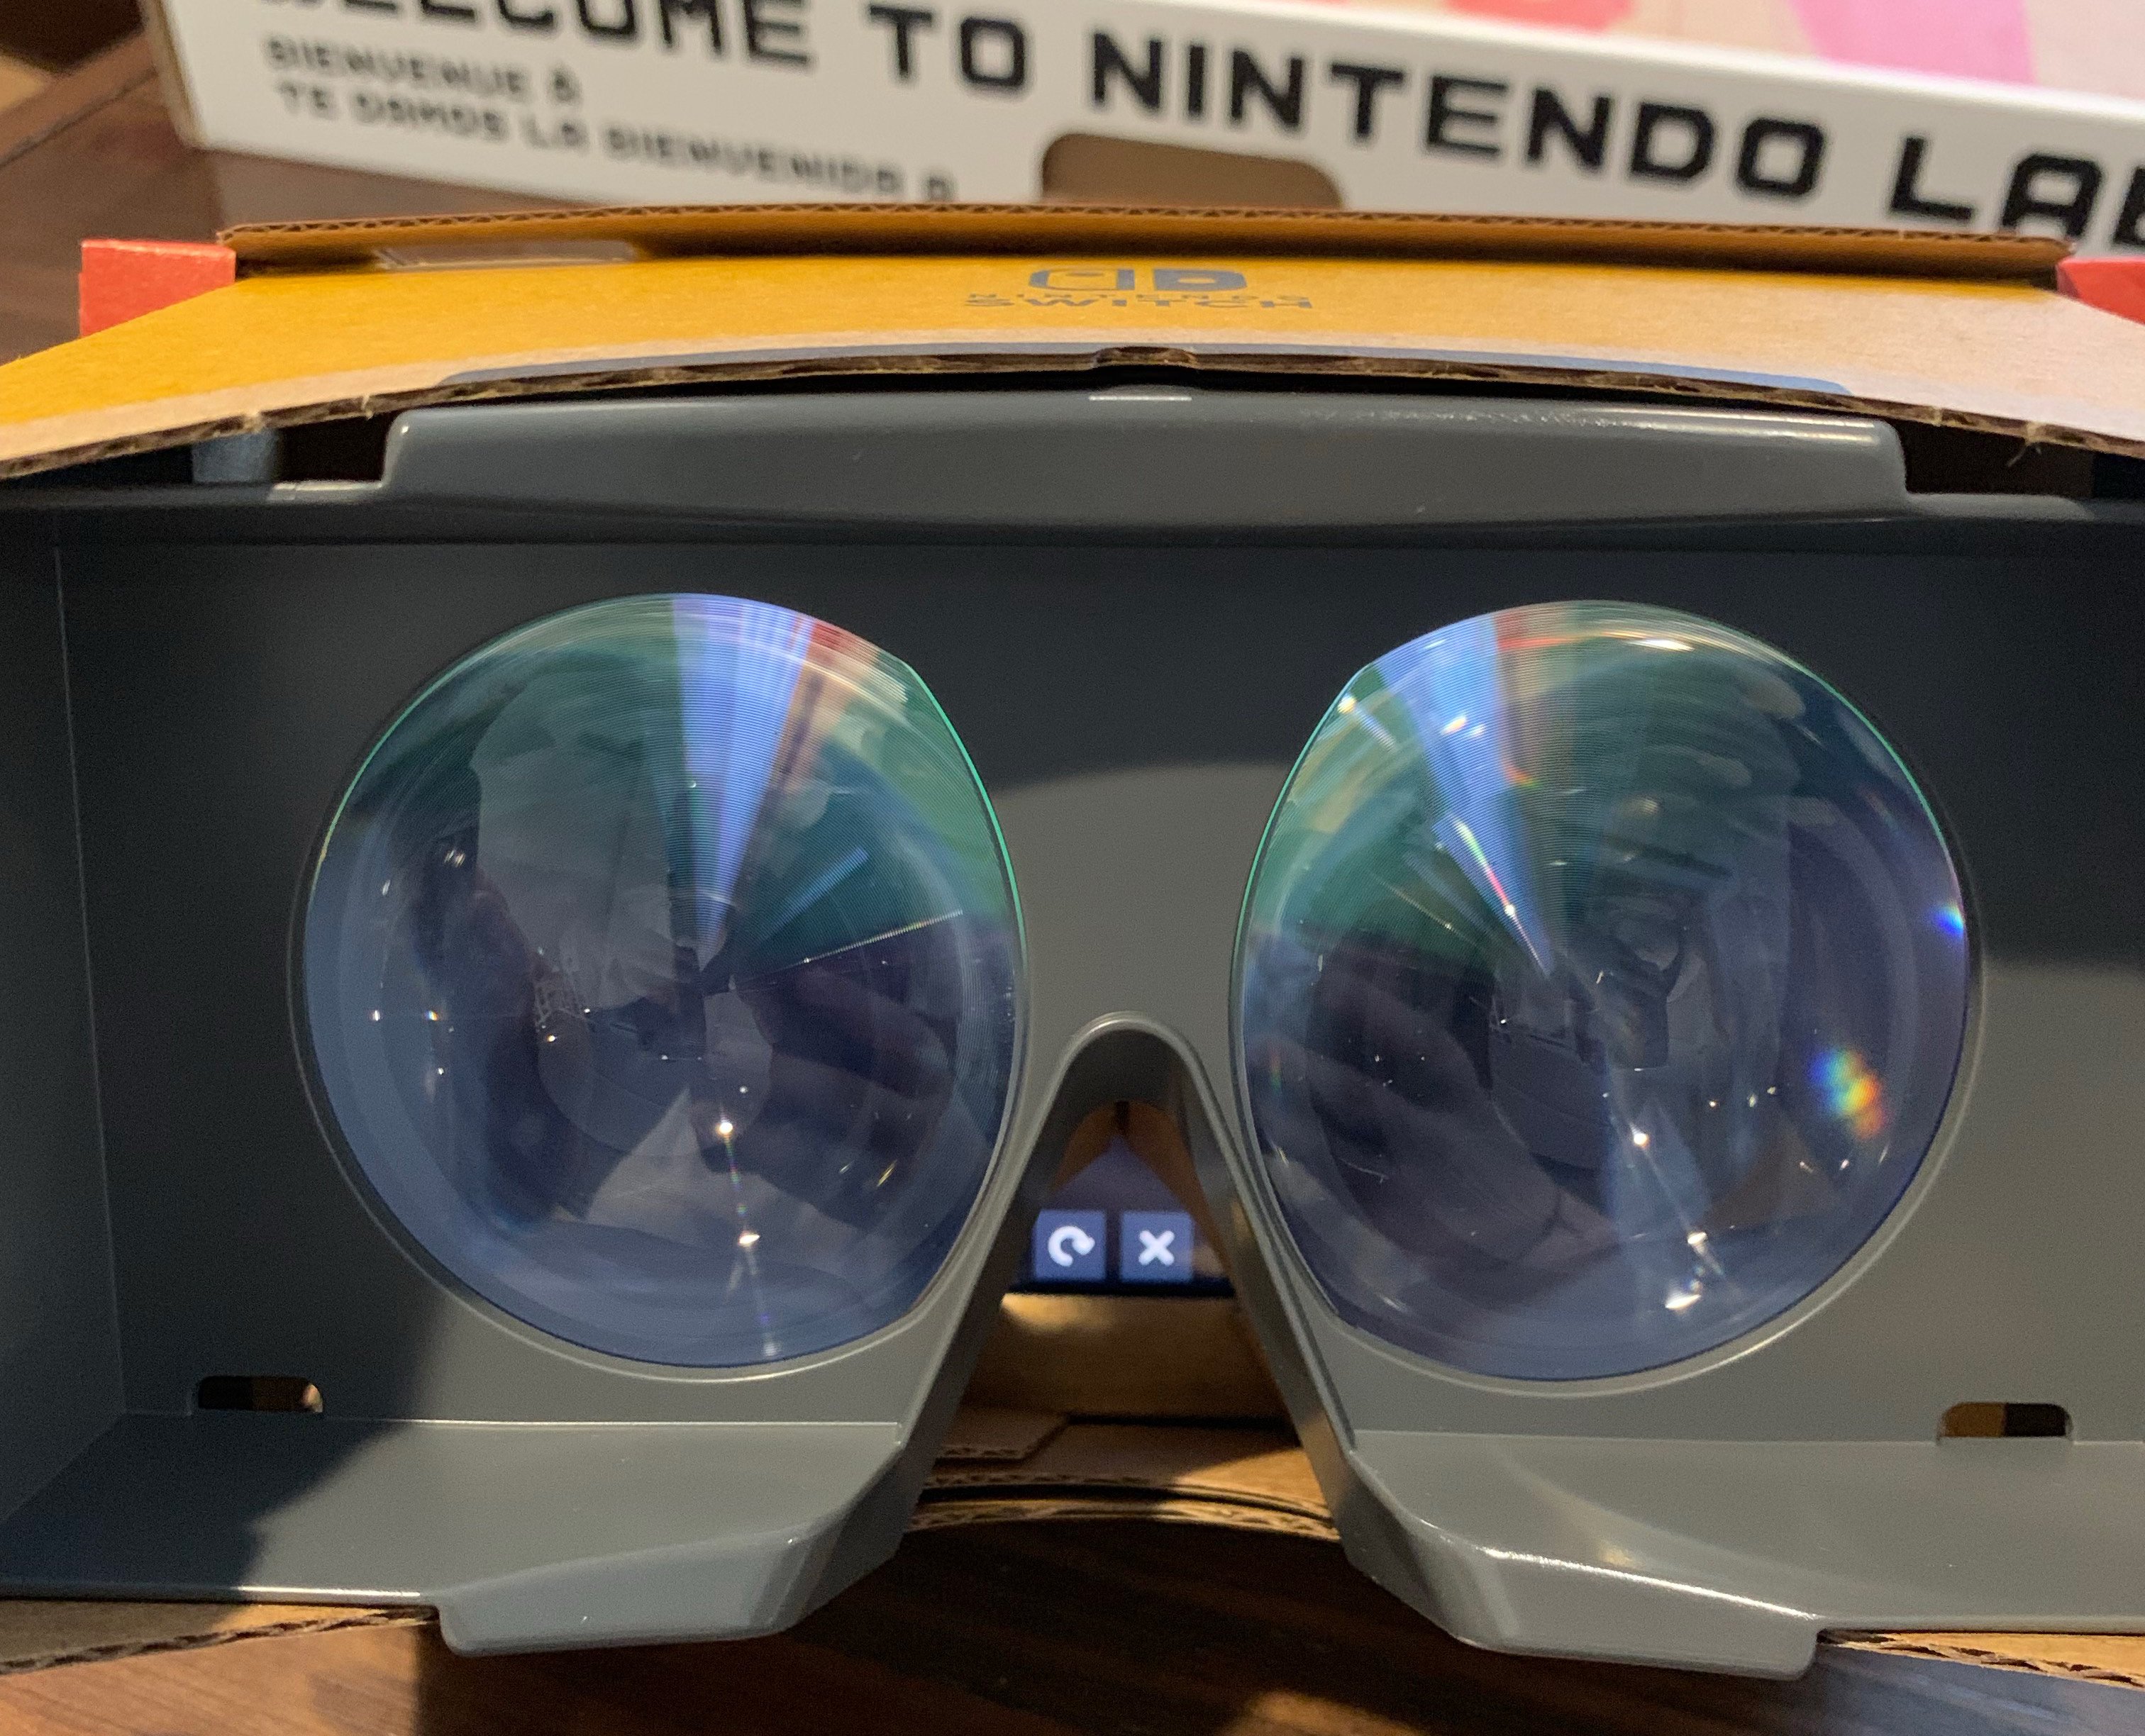
These glasses came with a ton of warnings, both in the app and on the glasses themselves. I’d just started folding the first bit of cardboard, but I needed to capture just how interesting the glasses look.
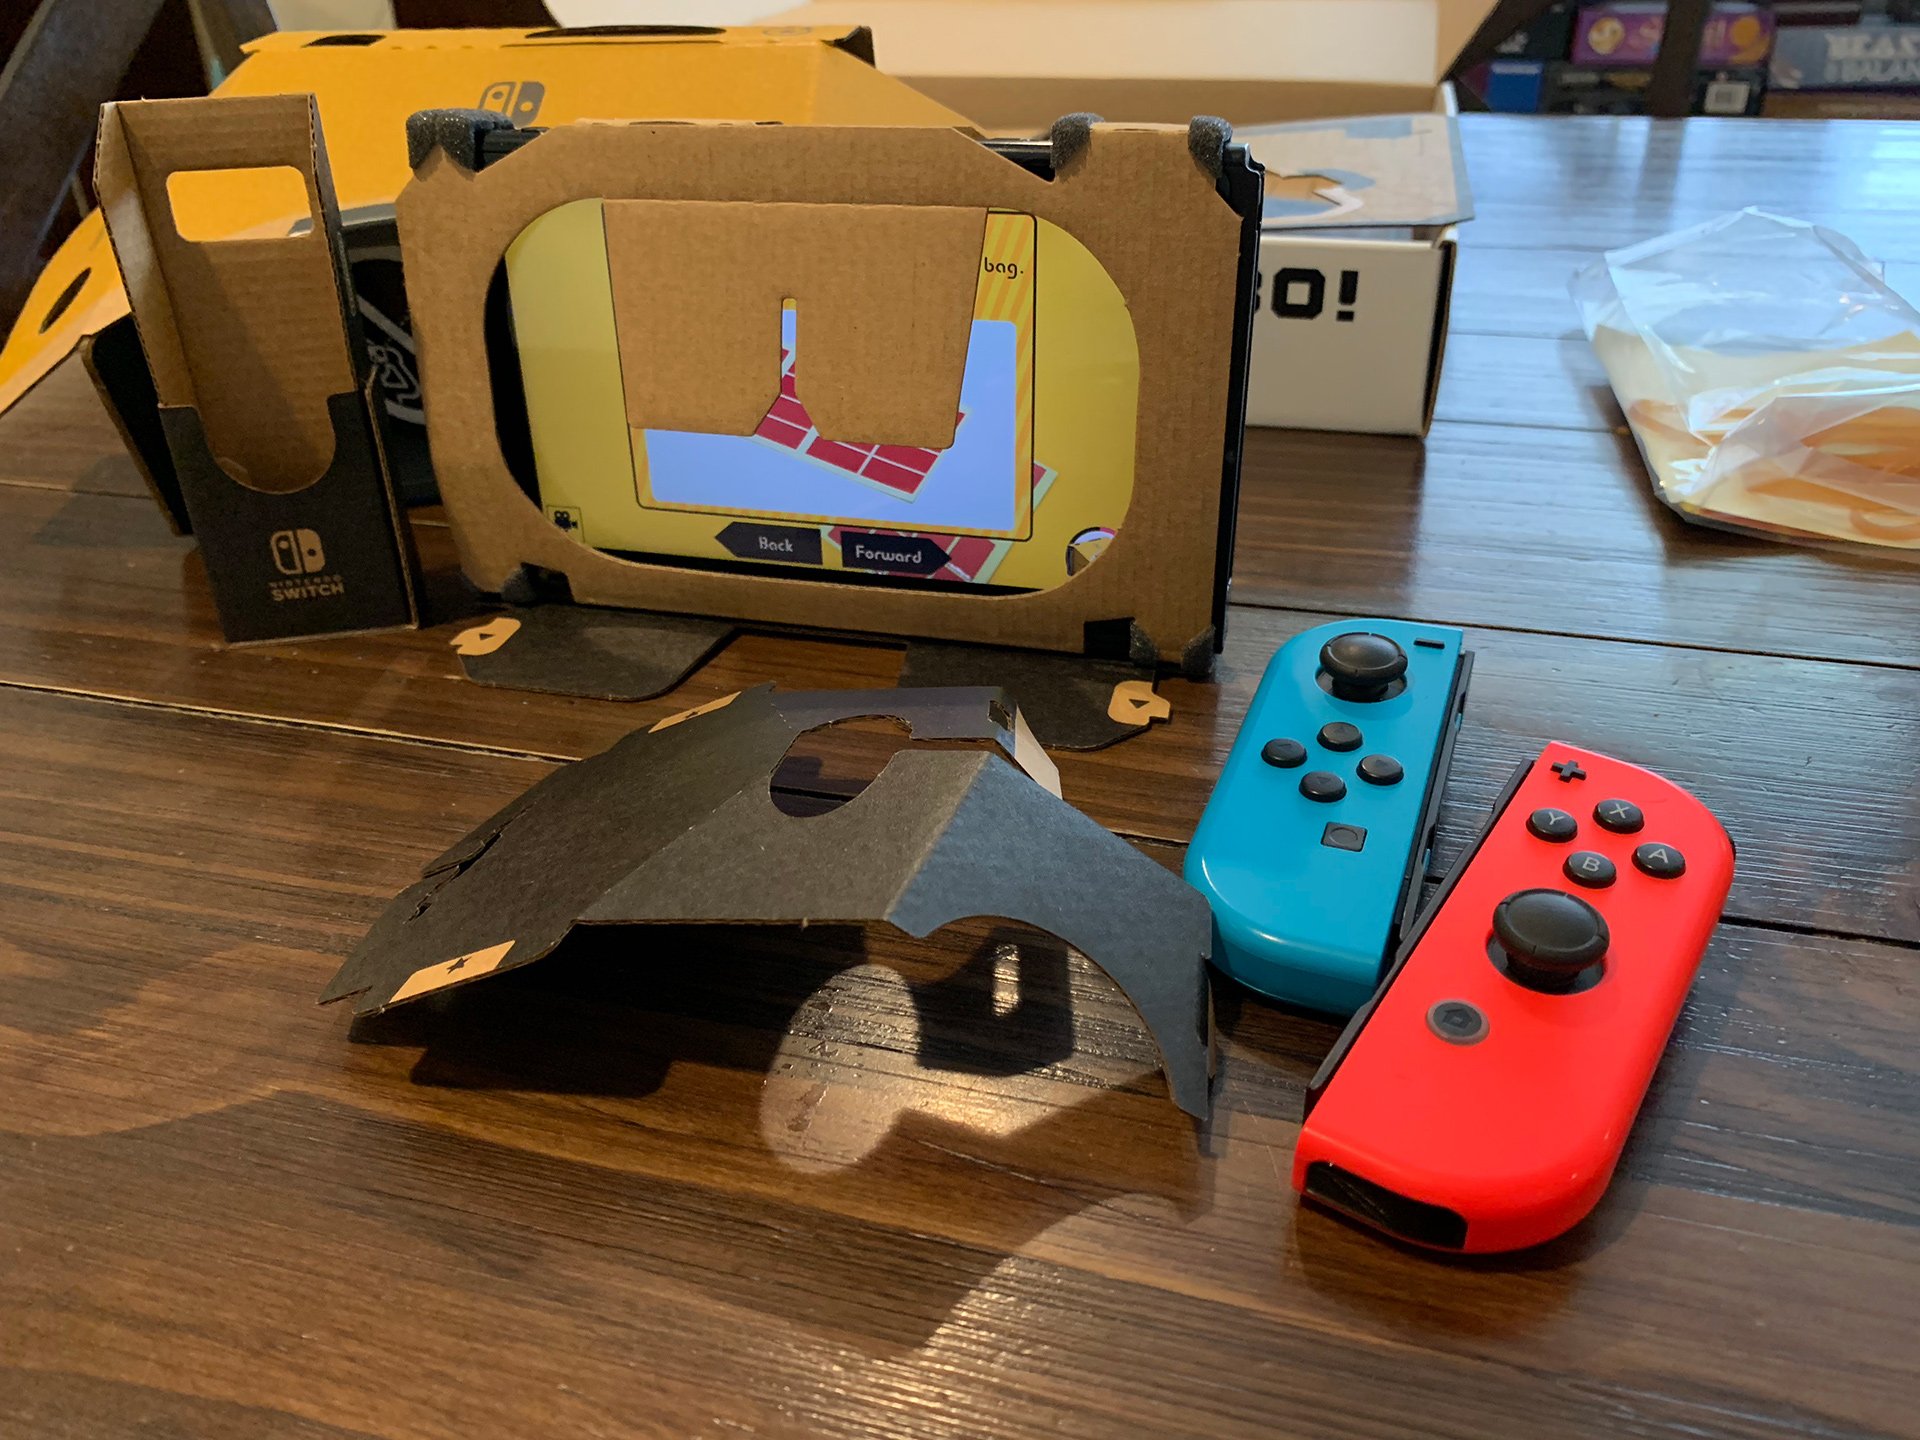
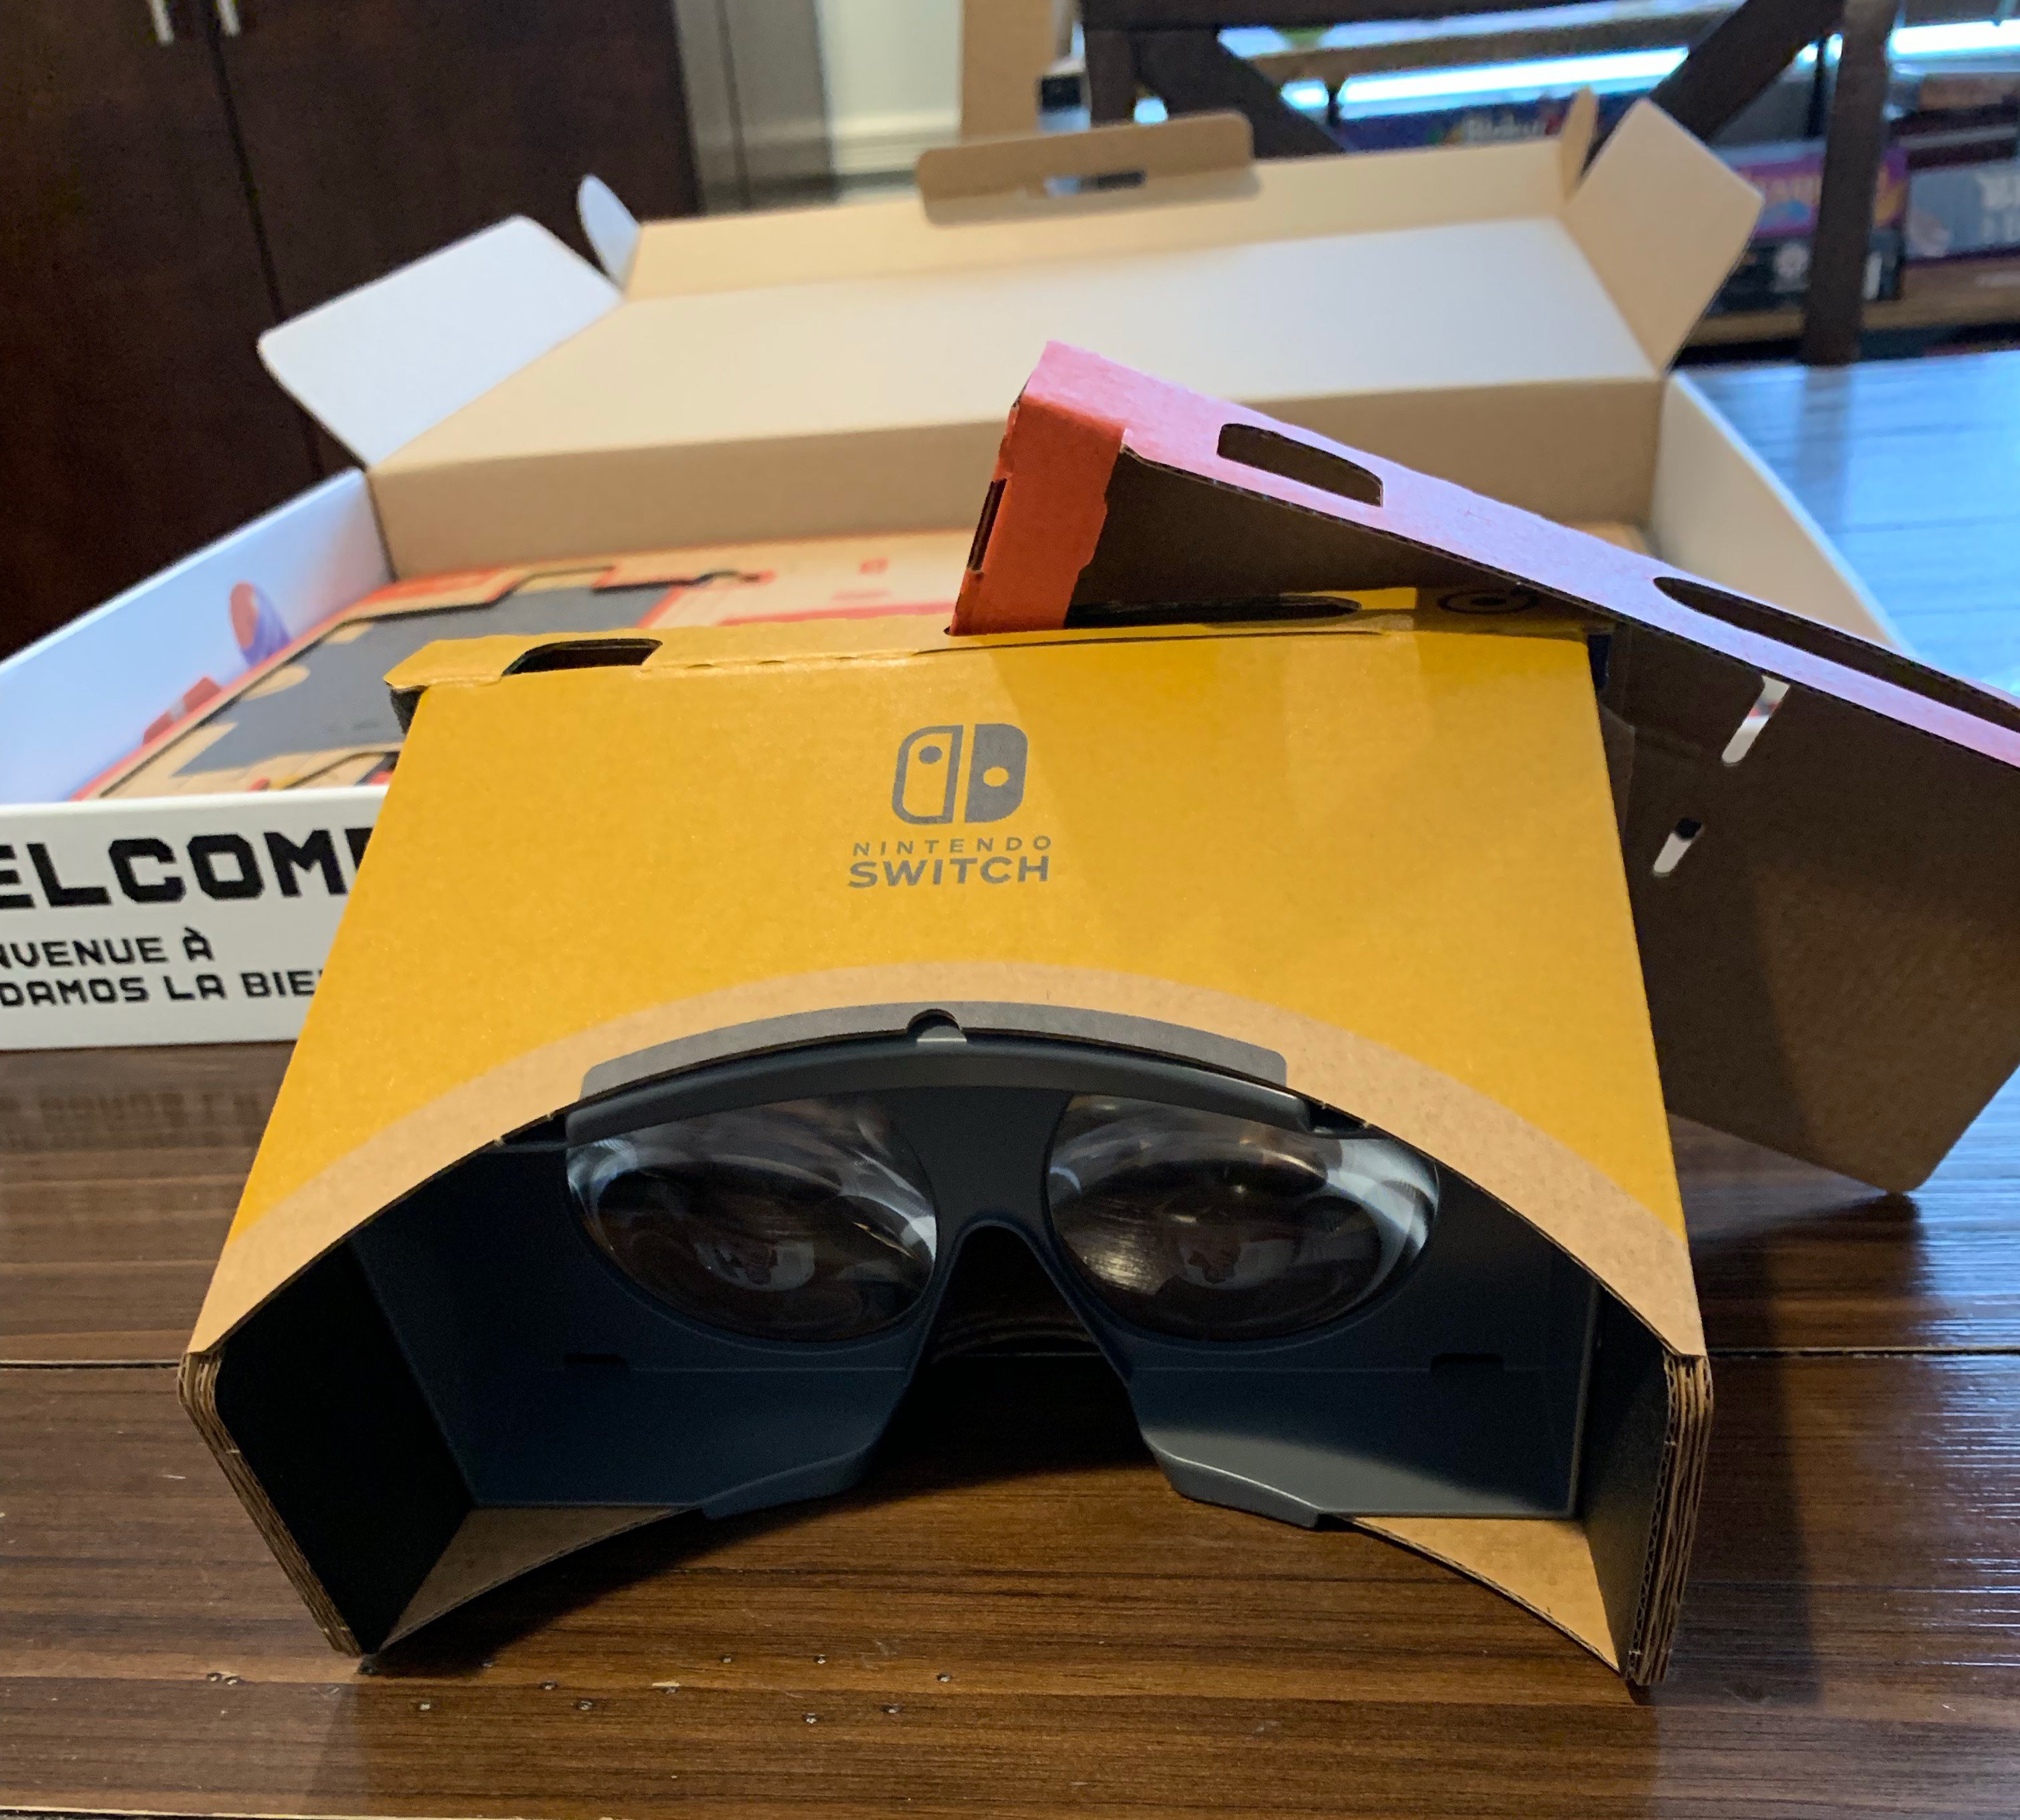
At this point, the headset was kind of put together and I’d just finished assembling the console holder, which is a bit flimsy. The spare bit of cardboard here will eventually create the nose piece of the headset. It’s worth noting that I had to pull the headset apart twice to ensure that the nosepiece didn’t move. It’s a bit finnicky.
At this point, the headset was completely assembled. The nosepiece was still screwed up and I didn’t know it until I finished the final step.
And the back view.
The final step is the safety cap to ensure that the console will stay put when you’re using Labo without controllers. Without the cap, the console could slide out. There are some Toy Con varieties that require the console by itself without Joy Cons, so it’s important to keep it snug and secure.
And we’re done! The next thing that we need to do is build the blaster, which takes 2-3 hours to put together, start to finish. Another day.
Disclosure: Nintendo provided a copy of Nintendo Labo: VR Kit to SuperParent for coverage purposes.