Here's where to find all 13 Lucky Emblems in The Caribbean.
On your adventure with Sora, Donald, and Goofy in Kingdom Hearts 3, you’ll make a stop in The Caribbean, the home of Jack Sparrow and other popular characters from Disney’s The Pirates of the Caribbean film franchise.
There are 13 Lucky Emblems (hidden Mickeys) to photograph in the wide open world of The Caribbean, and our guide will show you where to find them all.
Our guide starts at the Docks save spot in Port Royal. Watch the video guide below to see where to find all 13 Lucky Emblems in The Caribbean, or read on to see a picture and text description related to finding each one.
Keep in mind that while sailing in the open water, it’s possible to be attacked by enemy vessels. You can ignore the ships and just keep sailing, but you can’t let go of the ship’s controls while you’re in combat, so you also won’t be able to leave the ship until they’re dealt with (either by you getting away or defeating them).
The Caribbean Lucky Emblem No. 1
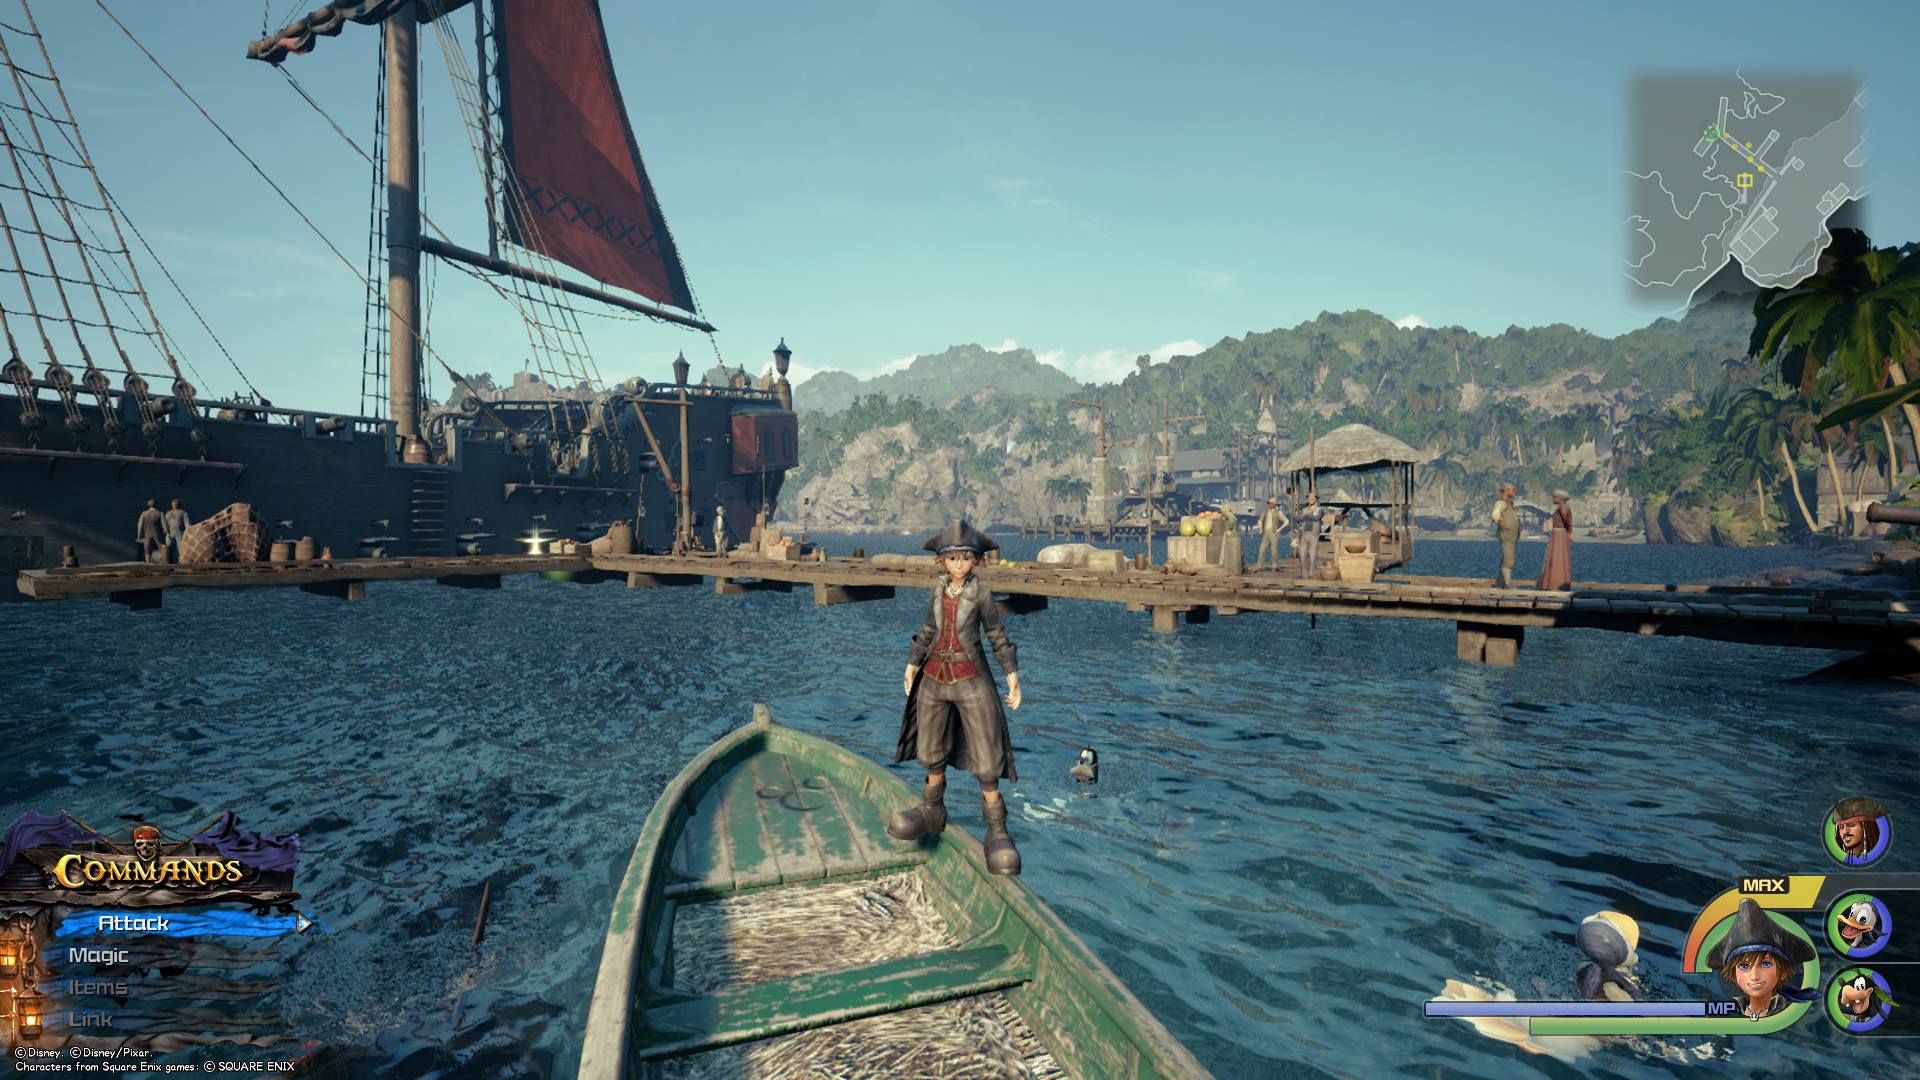
From the Docks save spot, look into the water almost straight ahead of you, and you’ll see a small green boat floating on the right side of the docks near the shore. Make your way onto the boat, and you’ll find the first Lucky Emblem in the wood near the front of the boat.
The Caribbean Lucky Emblem No. 2
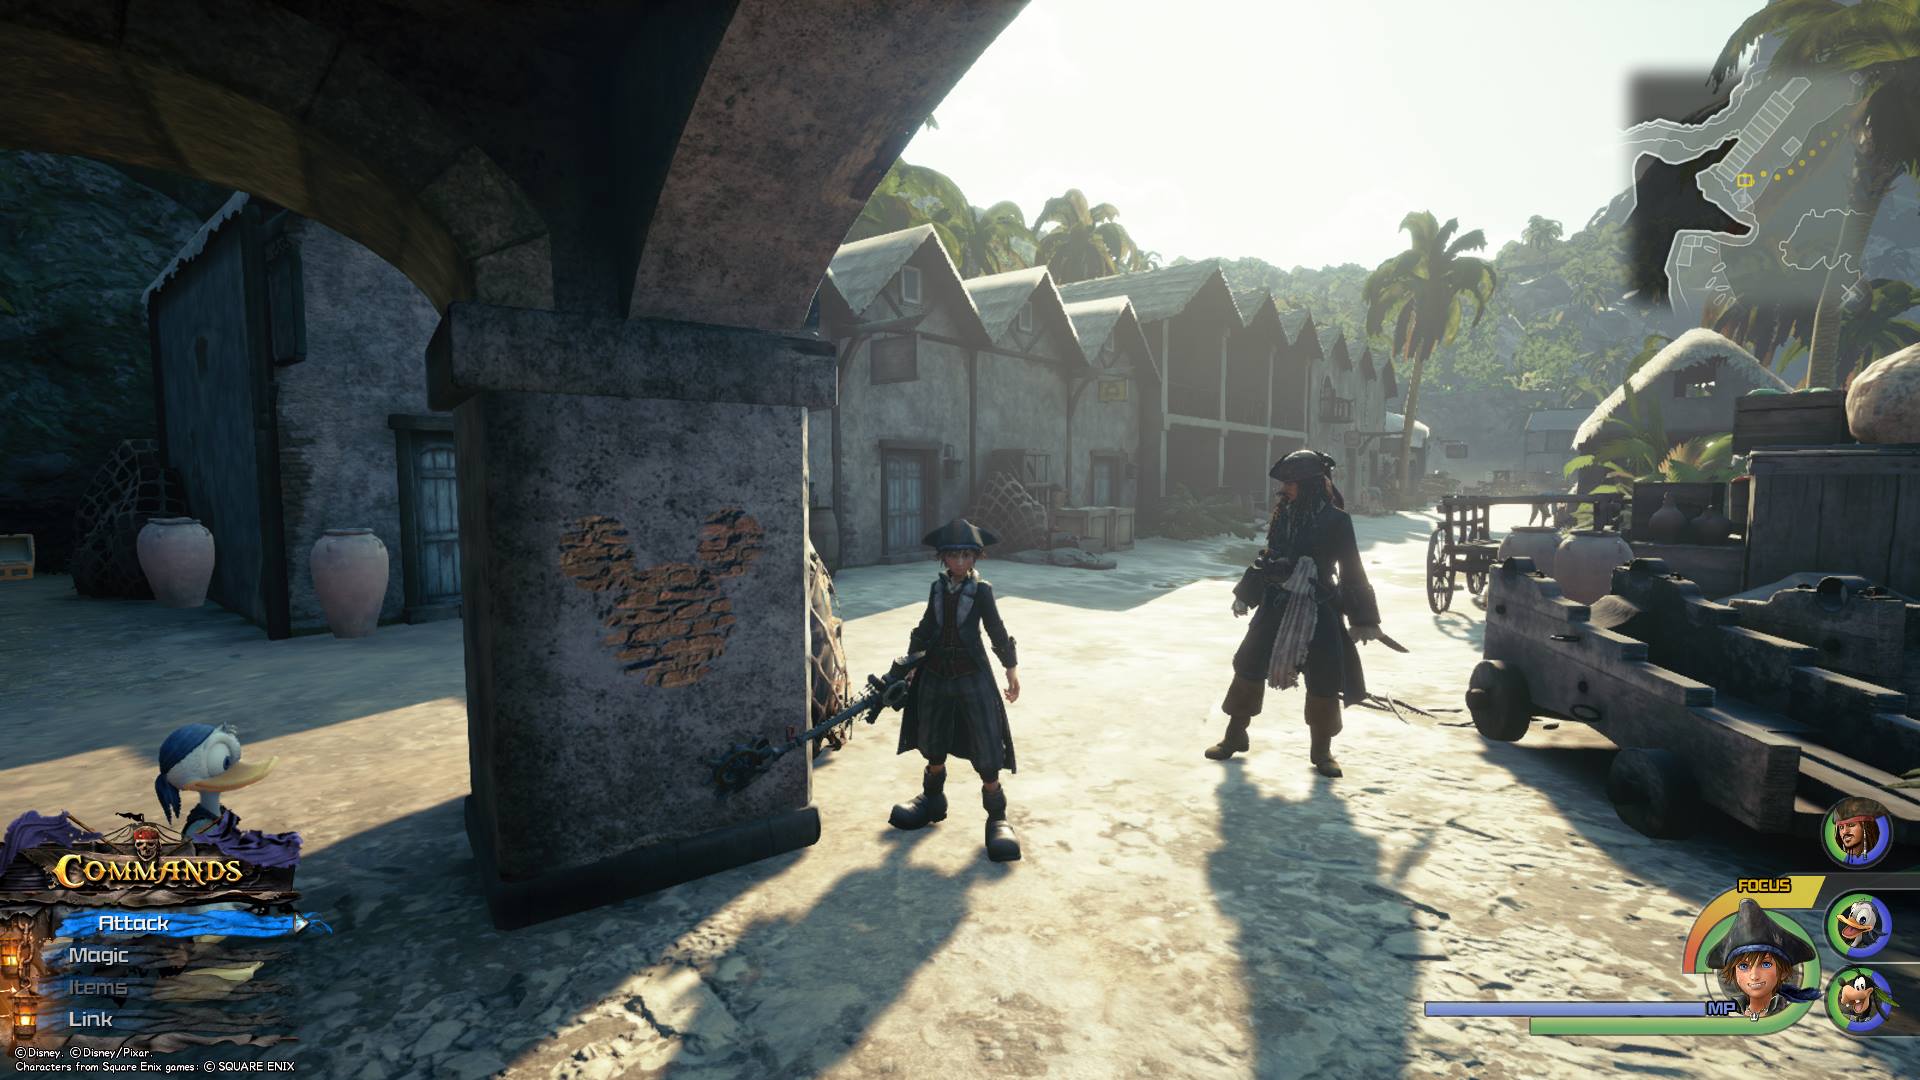
From the first Lucky Emblem, jump onto shore and turn left. Run to the end of the path and you’ll find an elevated building with supports made of stone arches. The second Lucky Emblem is on the side of one of the building’s stone supports. There’s a breakable box in front of the Emblem that you can destroy to see the Emblem more clearly.
The Caribbean Lucky Emblem No. 3

After photographing the second Lucky Emblem, make your way into the Seaport section of Port Royal. The quickest way to do this is to jump into the water near Lucky Emblem No. 2 and continue forward to the shortline in the distance. This is the Seaport area.
Run past the boats on the shore and enter the shack on the beach. You can spot the third Lucky Emblem on the side of a crate against one of the walls of the shack.
The Caribbean Lucky Emblem No. 4

From Lucky Emblem No. 3, leave the shack and run to the dock in the Seaport area (it’s really close by). Stand on the dock so that you’re facing the archway at the entrance to the dock, rather than facing the water. The fourth Lucky Emblem is on a bar hanging from the archway (it’s on the side of the arch that’s facing the water).
The Caribbean Lucky Emblem No. 5
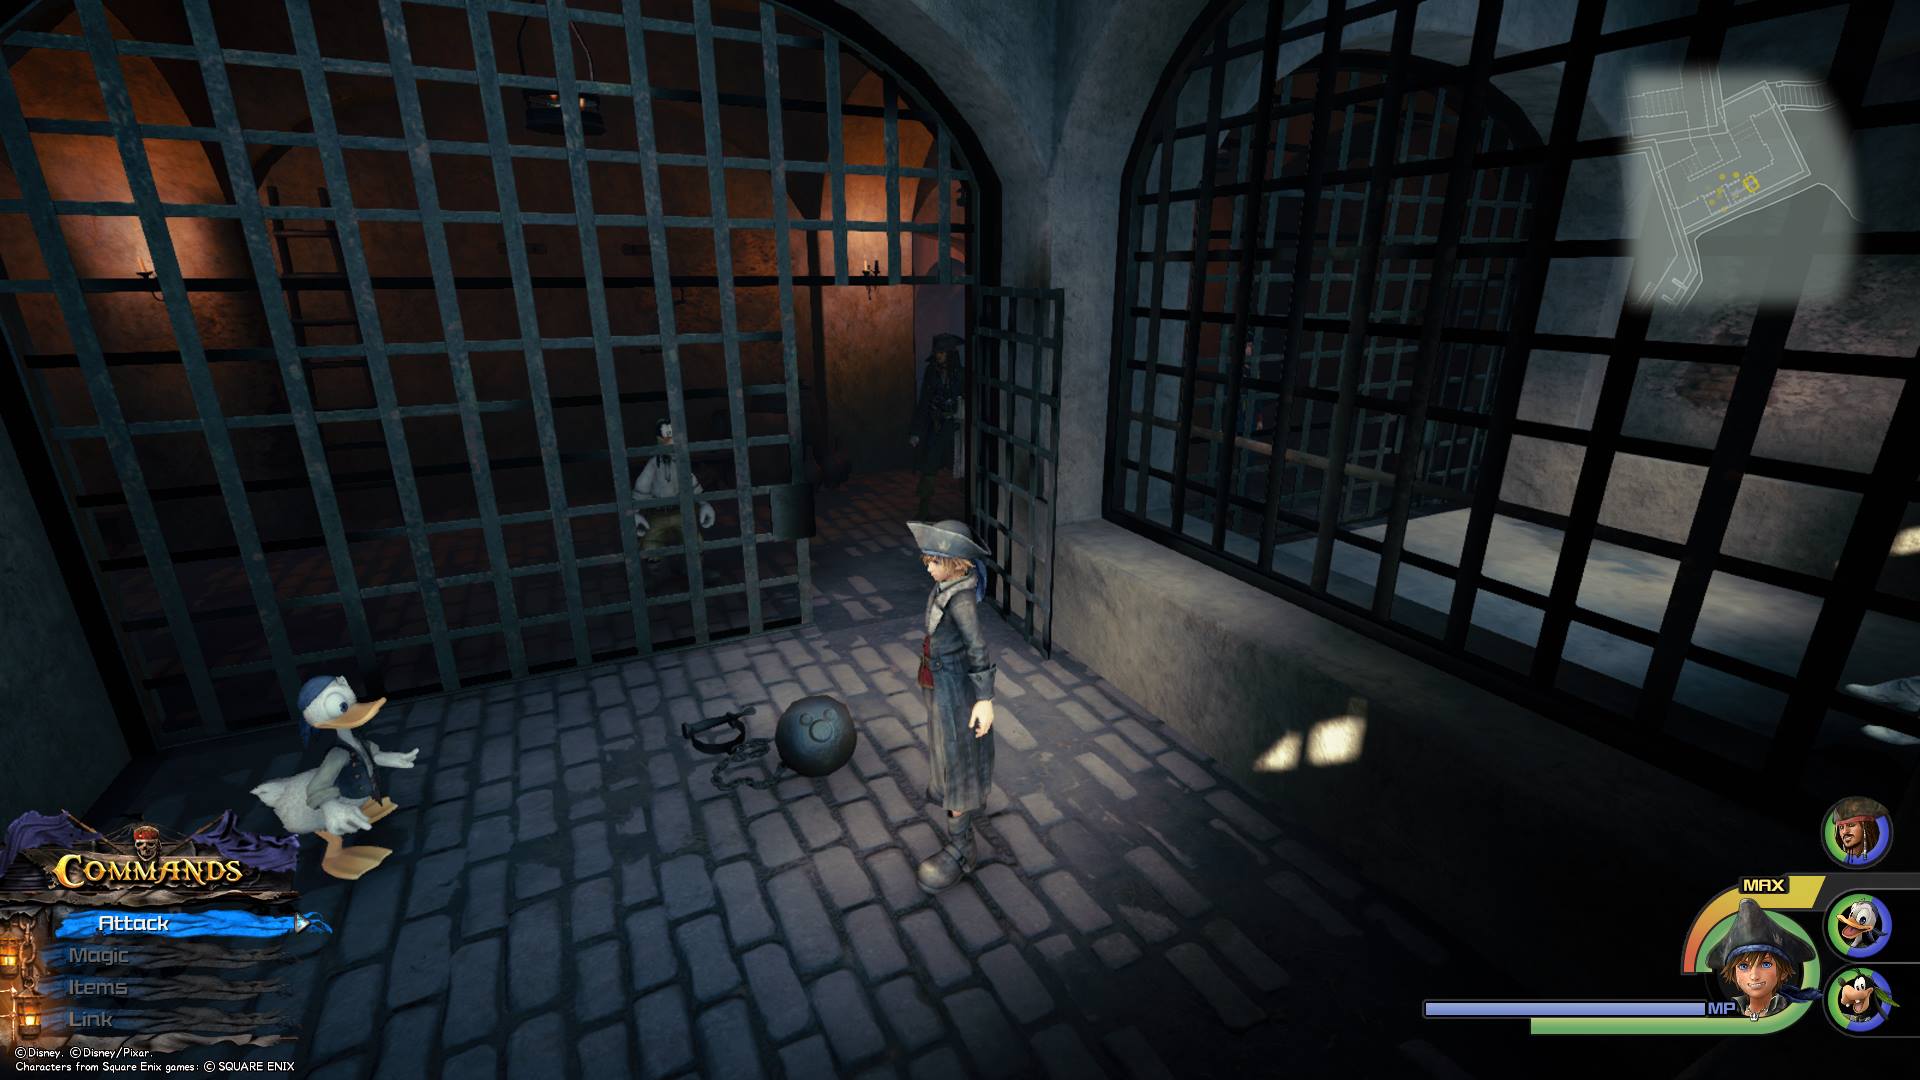
After taking a picture of Lucky Emblem No. 4, turn left and run down the narrow pathway that leads to Port Royal’s Fort. Stay on the path until you enter the Fort. Walk inside and climb a short set of stairs that leads to the prison area. Walk inside the open cell with the ball and chain on the floor. The fifth Lucky Emblem is on the side of the ball.
The Caribbean Lucky Emblem No. 6

From Lucky Emblem No. 5, head back outside and climb to the roof of the Fort using Sora’s wall climbing ability. Climb a second wall in front of you and look slightly left to spot the flagpole on top of the Fort. Make your way over to the flagpole and climb the building so that you’re standing near the pole. Look down at the cannons below you, and you’ll see the next Lucky Emblem formed out of three ropes on the floor (you’ll need to be standing so that the water is on the left side of the screen).
The Caribbean Lucky Emblem No. 7
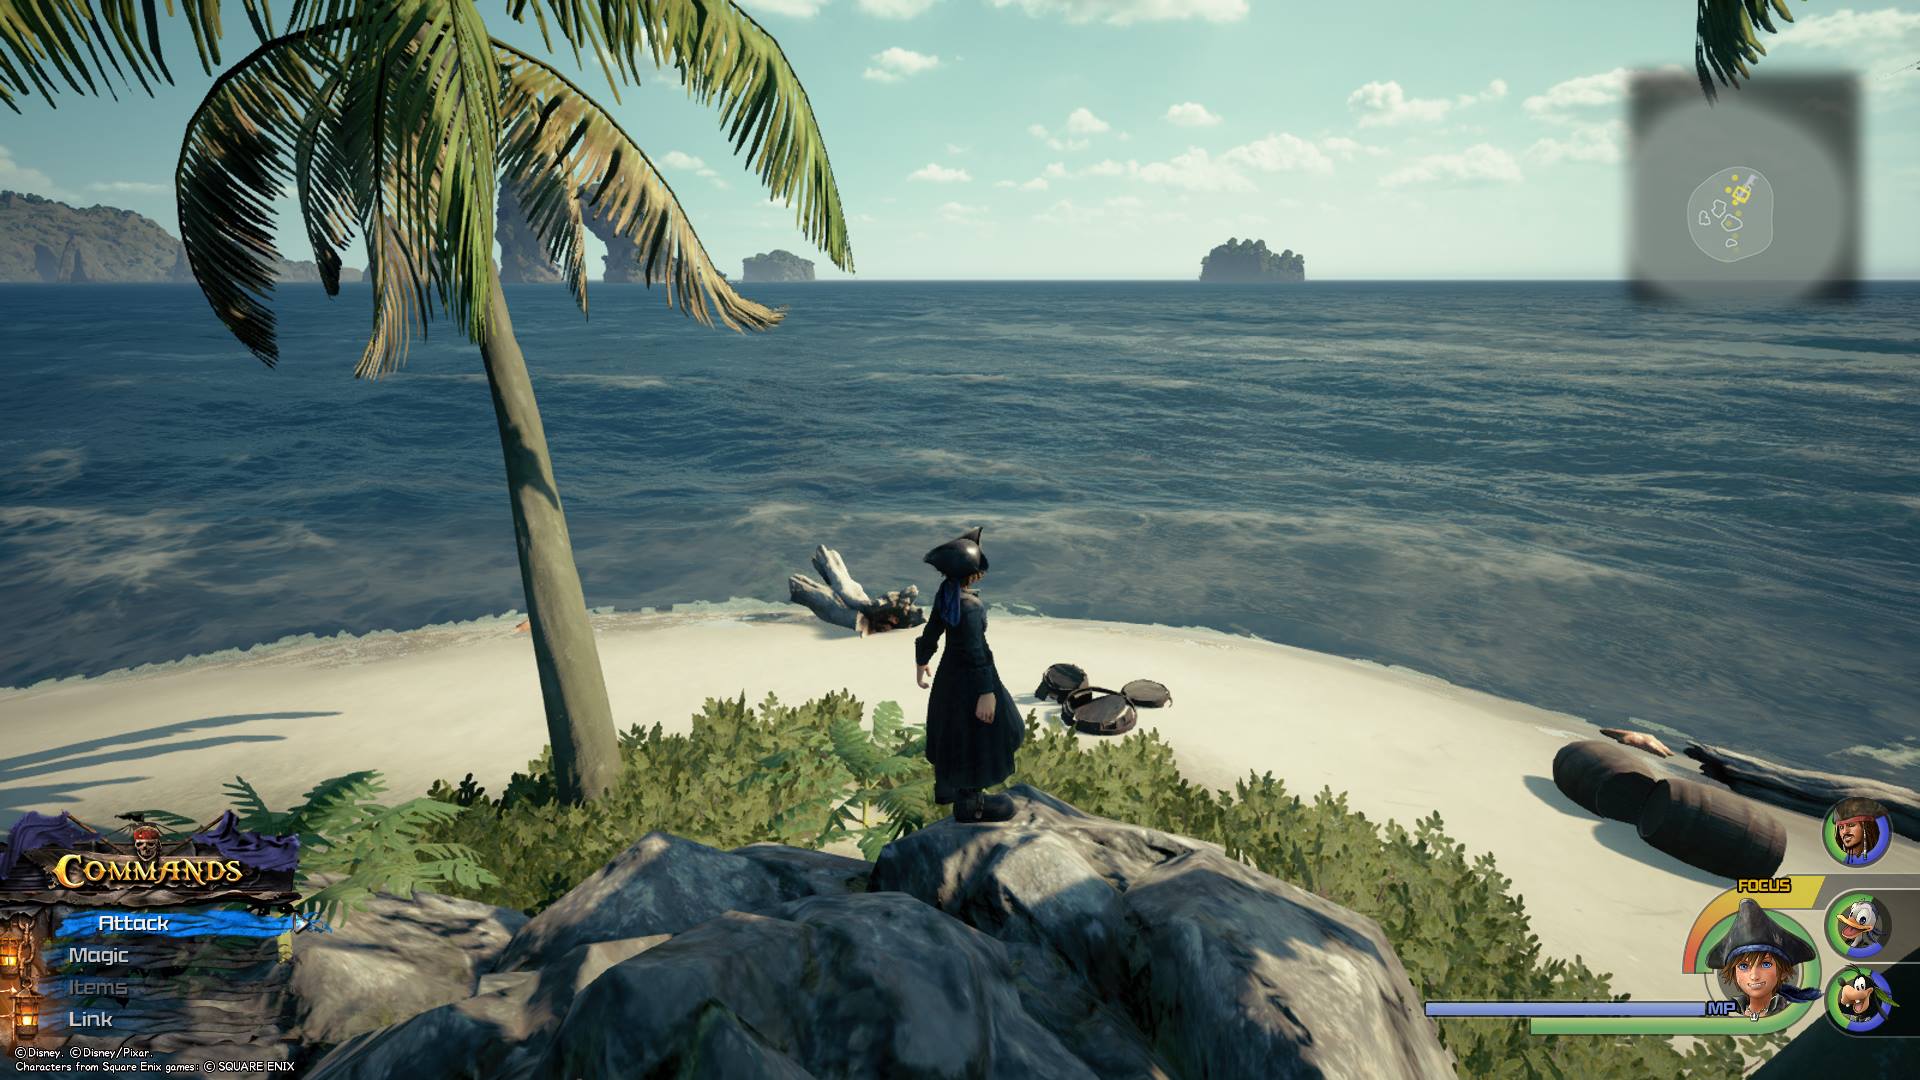
Now that you’ve finished taking pictures of the Lucky Emblems in Port Royal, make your way to back to your ship and get on board. You can either run to your ship on foot, or use the save spot in the Fort to warp back to the Docks save spot, which is right next to your ship. Sail to Isla De Los Mástiles. You can use the map the game gives you to see where each of the islands are as we continue through this guide.
Once you reach Isla De Los Mástiles, look for a small circular island with palm trees. Leave your boat and go to this island. There are two large rocks sticking up out of sand. If you stand on the smaller of the two rocks and look toward the beach (rather than looking toward the center of the island), you can see the next Lucky Emblem on the beach being formed out of broken barrels.
The Caribbean Lucky Emblem No. 8

From Lucky Emblem No. 7, return to your ship and sail to Horseshoe Island. From Isla De Los Mástiles, you should be able to see Horseshoe Island not too far off in the distance toward the southwest – it has a large archway made out of rock that you can sail through. In fact, you need to do just that.
Sail into the middle of the archway and stop your ship. You can see the next Lucky Emblem formed out of large rocks on the left side of the arch. You’ll need to stop controlling the ship in order to pull out your gummiphone to take a picture.
The Caribbean Lucky Emblem No. 9

After you’ve found Lucky Emblem No. 8, sail northwest to Isla Verdemontaña.
When you reach Isla Verdemontaña, sail around the island until you see the beach with the save spot on it. Head onto the beach, and turn left to take the leftmost path into the center portion of the island. Follow the path for quite a distance until you eventually reach a dead end and a tall wall that Sora can climb. For reference, you’ll need to pass a few other climbable walls before you reach the one you need to climb.
Once at the top, run forward until you see a gap in the path that looks out over the water. Walk to the edge of the cliff and look down. You’ll spot the next Lucky Emblem on the seabed under the water.
If you have trouble finding this particular Lucky Emblem, ether look at the mini-map in the corner of the screenshot above, or refer to our video guide, as it will show you the path to take to find each Lucky Emblem.
The Caribbean Lucky Emblem No. 10
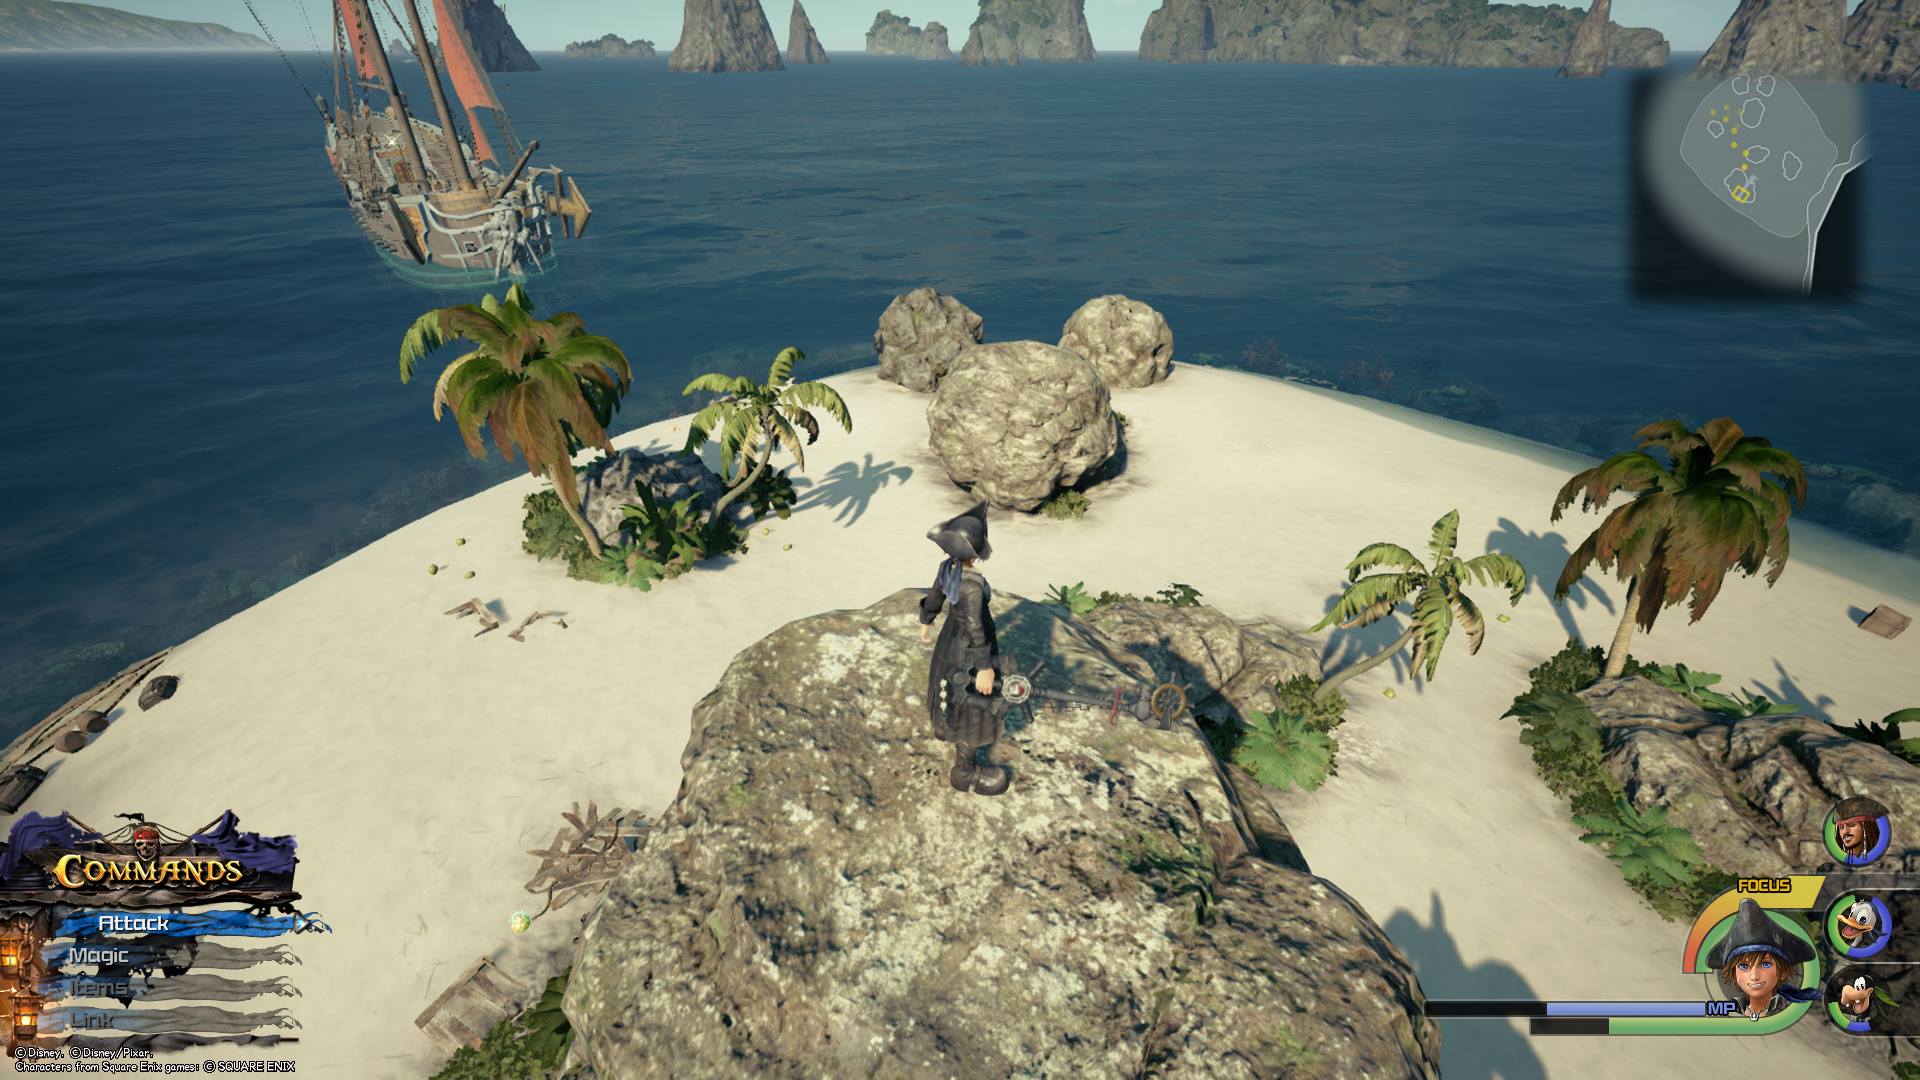
After taking a picture of Lucky Emblem No 9, return to your ship (you can jump off of the cliff and land on the beach below you, rather than backtracking). Sail southwest to Isle of Luck. Leave your ship and make your way onto the beach. Climb the tallest rock formation on the beach and look down to spot Lucky Emblem No. 10, which is formed out of three large rocks on the sand.
The Caribbean Lucky Emblem No. 11
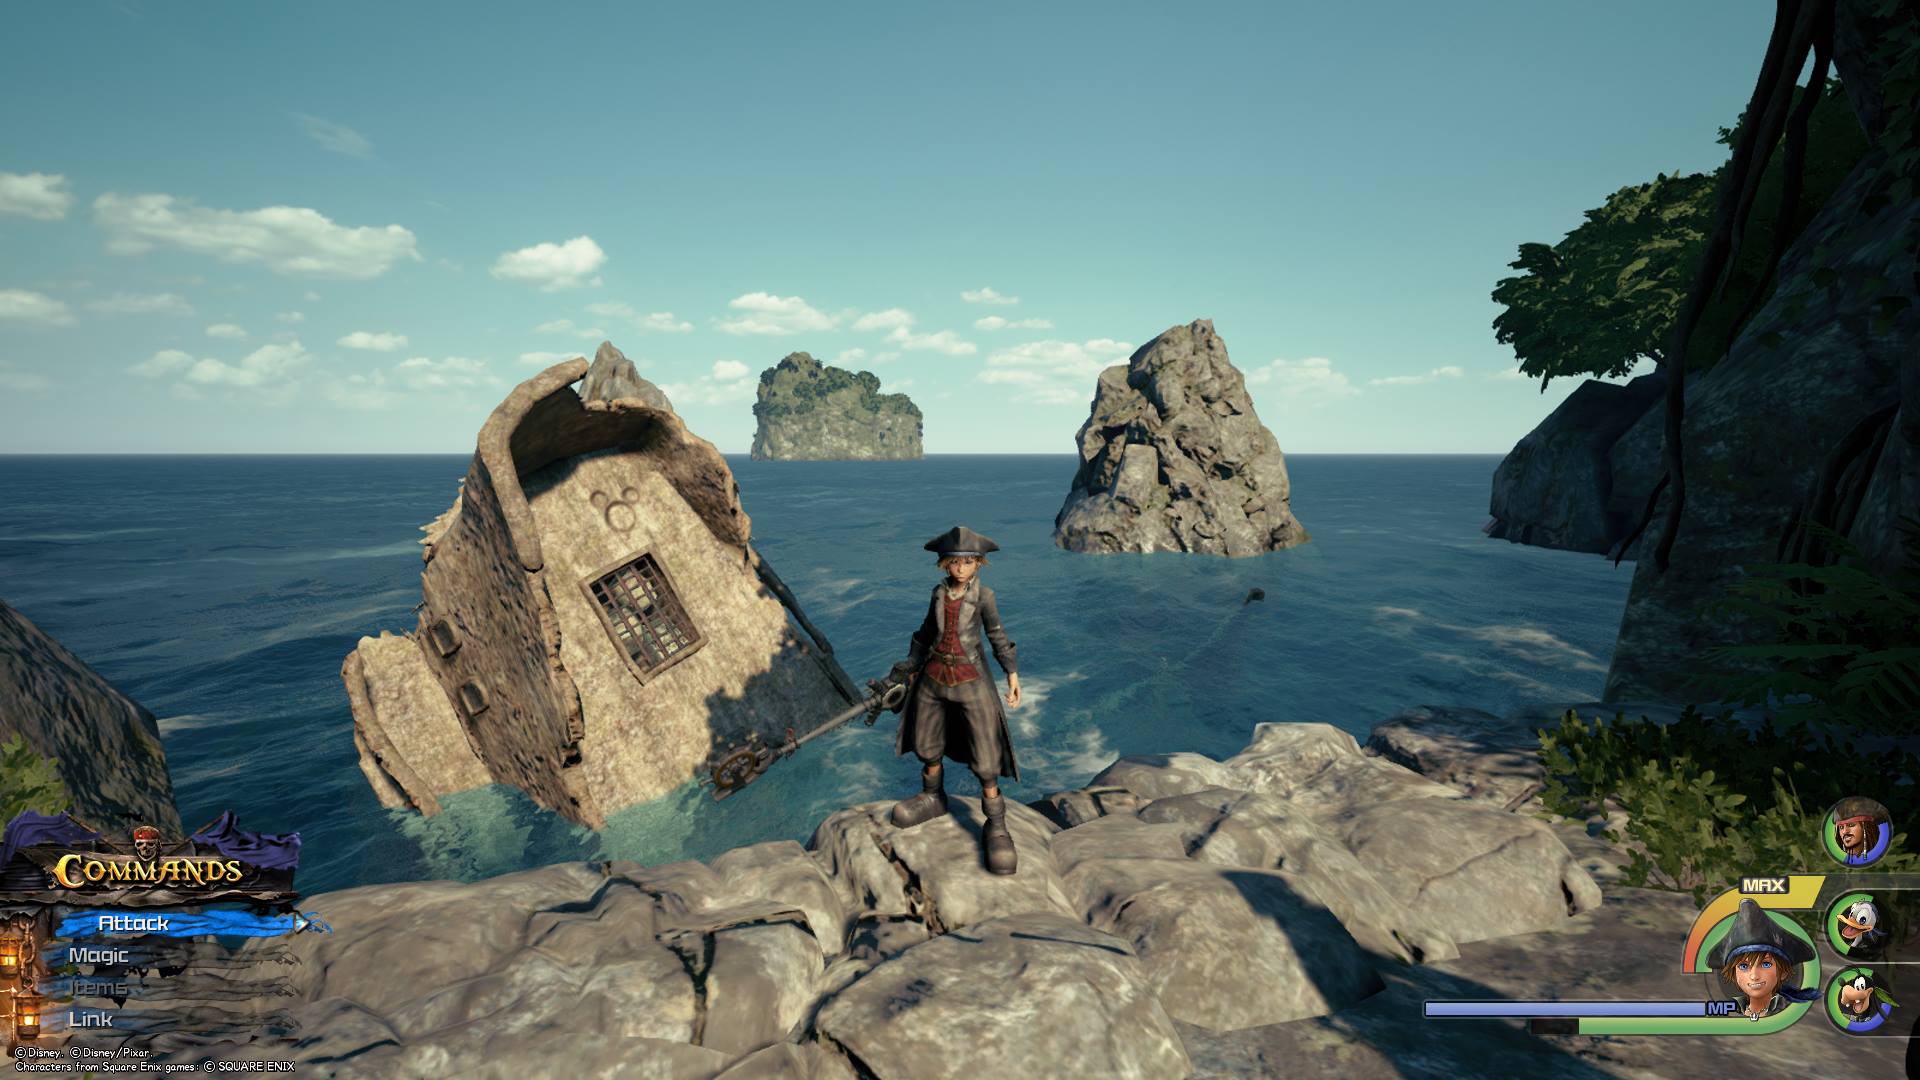
Return to your ship and sail southeast toward Ship’s End. Once there, look for a beach with a shipwreck nearby. Leave your ship and make your way onto the beach, and then continue forward, following the path to the other end of the island. You’ll see the stern of a shipwreck sticking up out of the water. The 11th Lucky Emblem is on what would have been the deck of the ship.
The Caribbean Lucky Emblem No. 12
From Lucky Emblem No. 11, sail southeast toward Sandbar Isle. You’ll see that sand forms a ring around water in the center. Leave your ship and climb to the top of the larger of the two landmasses that make up Sandbar Isle. You’ll need to do some careful jumping to reach the top of the island.
Once there, run straight past the enemies that spawn and dive into the water at the edge of the area. After entering the water, look down and you’ll see the next Lucky Emblem on top of a coral formation close by.
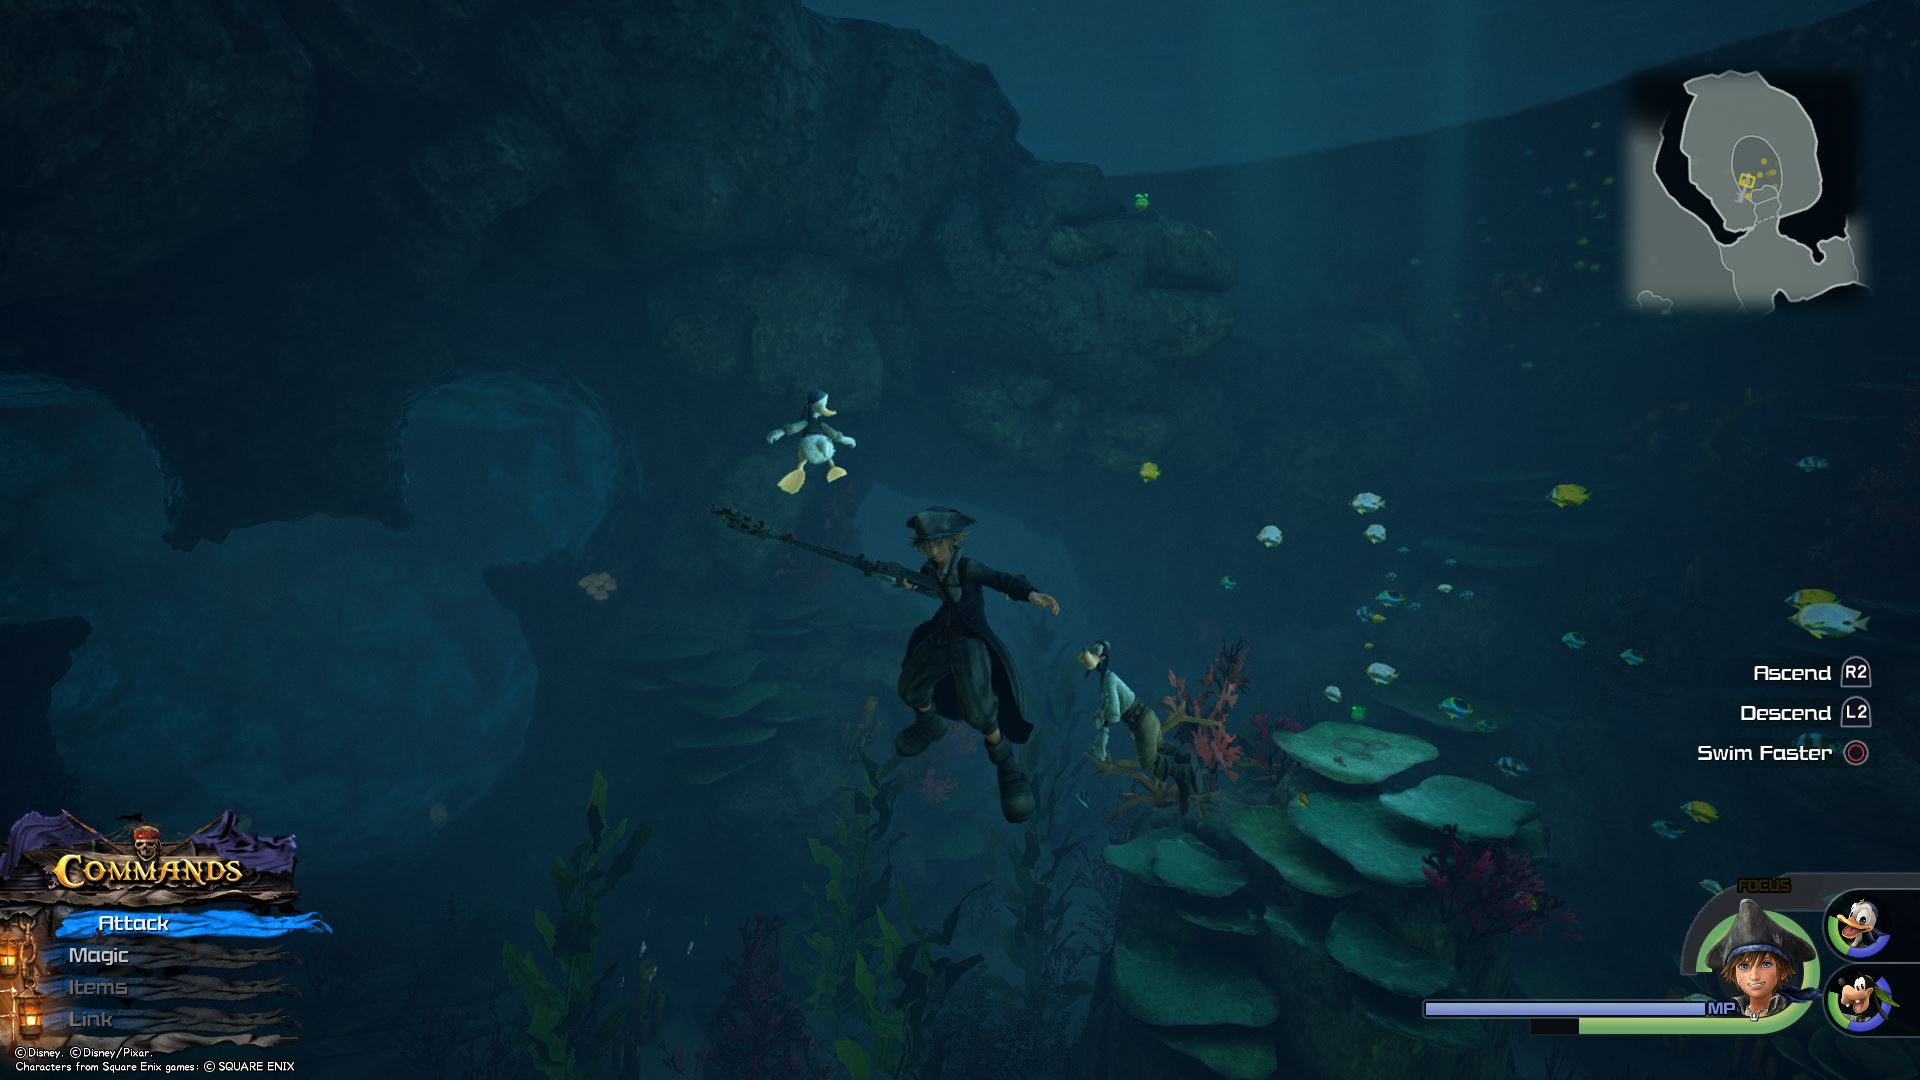
The Caribbean Lucky Emblem No. 13
Immediately after taking a picture of Lucky Emblem No. 12, turn so that you can see the final Lucky Emblem, which forms the opening of an alcove that you can swim into to find a couple of treasure chests.
You can actually see both Lucky Emblem No. 12 and Lucky Emblem No. 13 in the same picture above.