Our guide will show you where to find all 11 Lucky Emblems in the icy world of Arendelle.
On your way through Kingdom Hearts 3, you’ll travel to Arendelle, home of Elsa, Anna, Olaf, and their friends from the movie Frozen. There are 11 Lucky Emblems (hidden Mickeys) to photograph in Arendelle, and our guide will help you find them all.
Watch the video guide below to see where all 11 Lucky Emblems are located in Arendelle, or keep reading to see a picture and text description for finding each one.
Our guide starts at the Treescape save spot. Keep in mind that Arendelle is full of snowy, icy areas that look pretty similar. If you need extra help finding a Lucky Emblem, please refer to our video guide, as it will show you the walking path to take to reach each one.
Arendelle Lucky Emblem No. 1
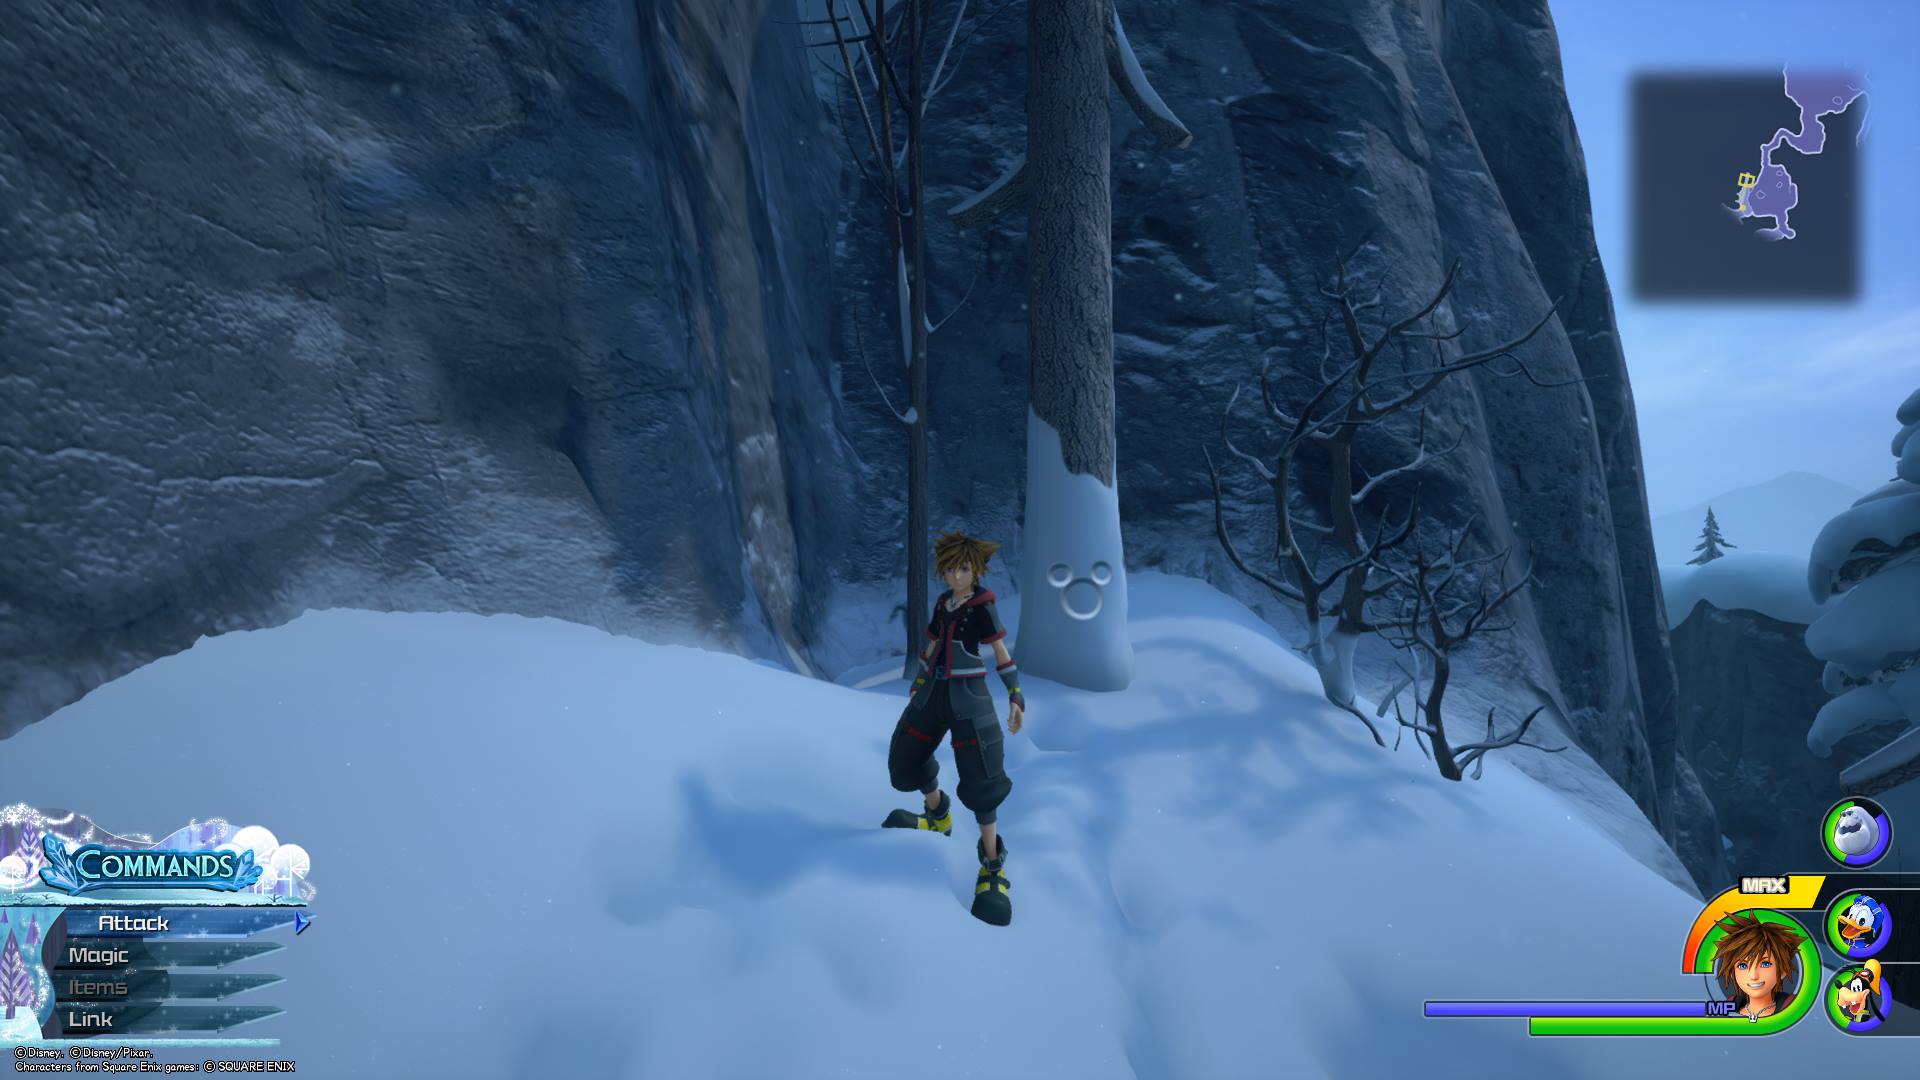
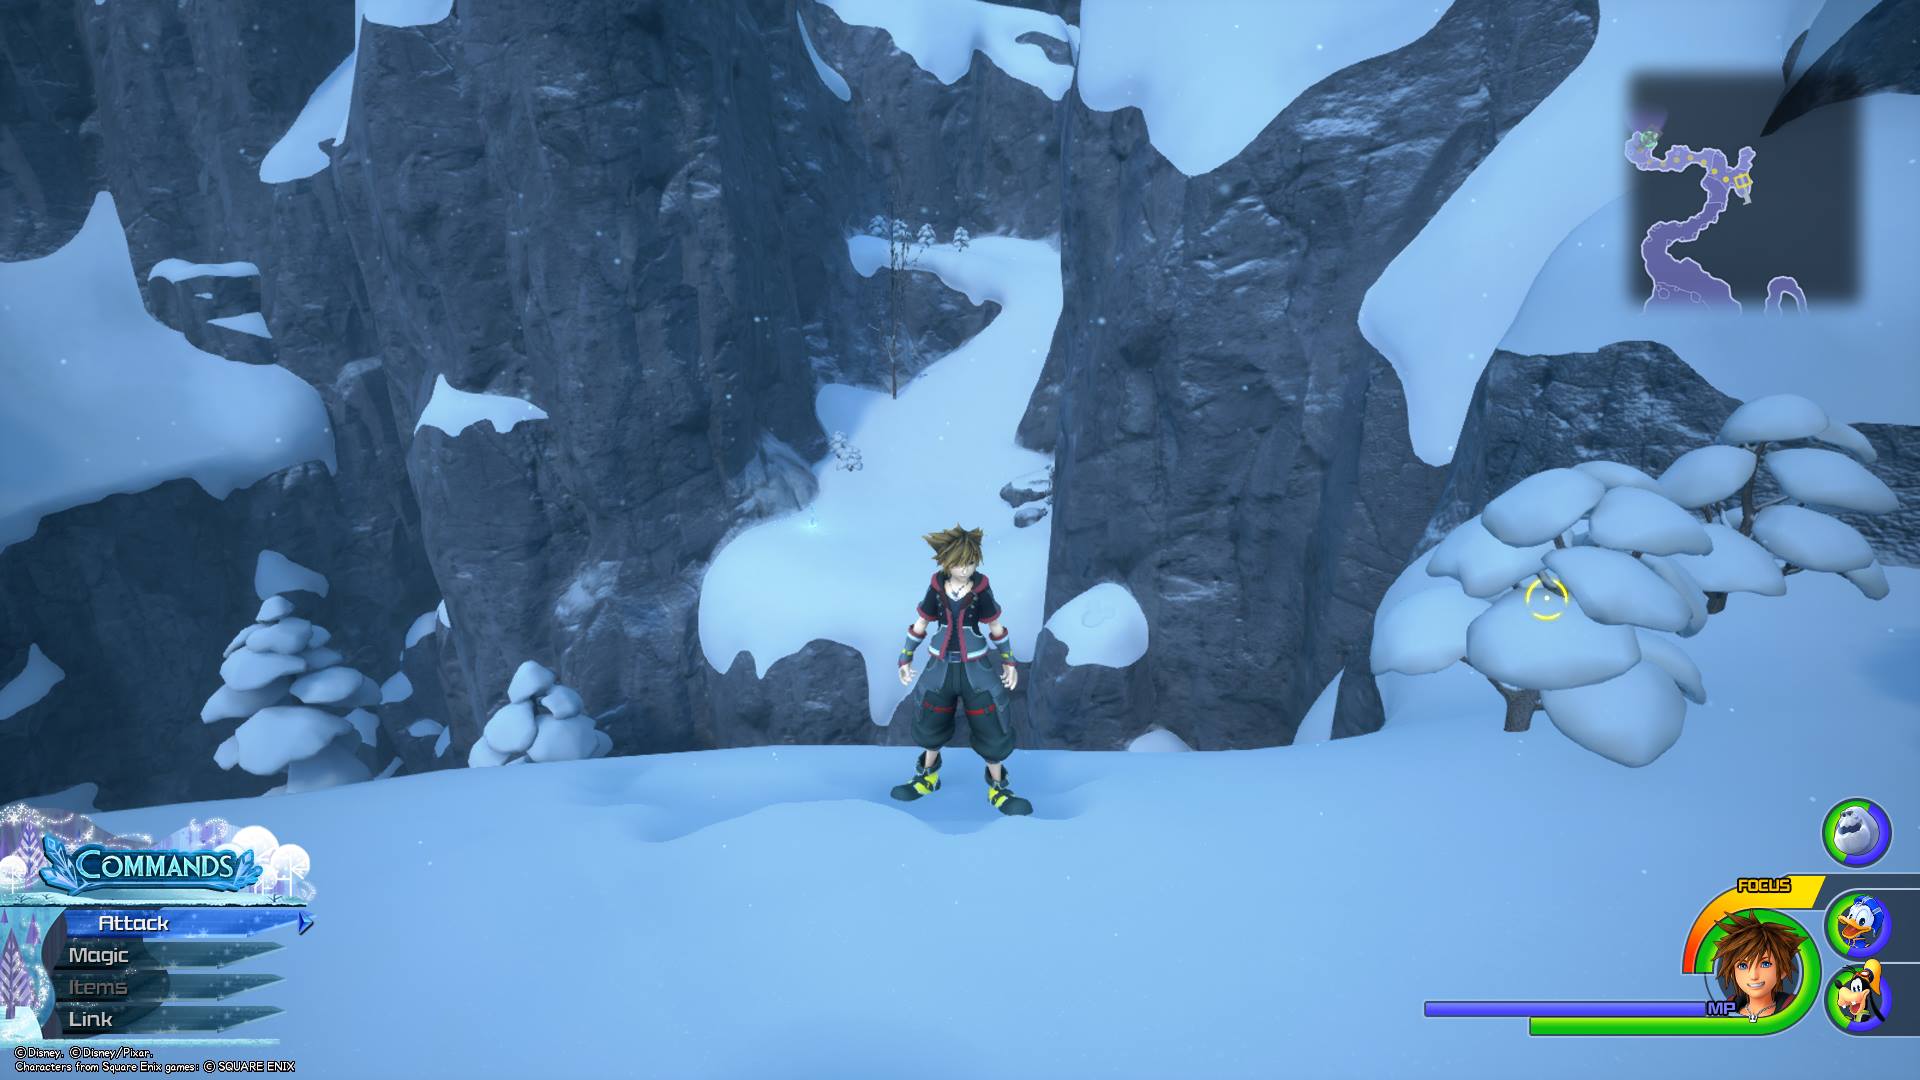
From the Treescape save spot, cross the clearing and begin climbing the mountain by taking the path on the right. When you come to the clearing with a frozen stream in the center, use a Superjump or double jump near the rock wall on the right side of the area to climb to a ledge with some trees. The first Lucky Emblem can be found embedded in snow on the side of a tree near the end of the ledge.
Arendelle Lucky Emblem No. 2
From the first Lucky Emblem, run along the ledge next to the mountain until you reach a wall you can climb. Climb the wall and you’ll find yourself in the “Gorge” area of The North Mountain. Turn right to climb the mountain until you reach the clearing with the Gorge save spot and the glowing orb that will allow you to enter The Labyrinth of Ice. We’re going to be going into The Labyrinth of Ice next, but for the sake of efficiency, use the Gorge save spot to warp into the Lower Tier save spot instead of touching the orb.
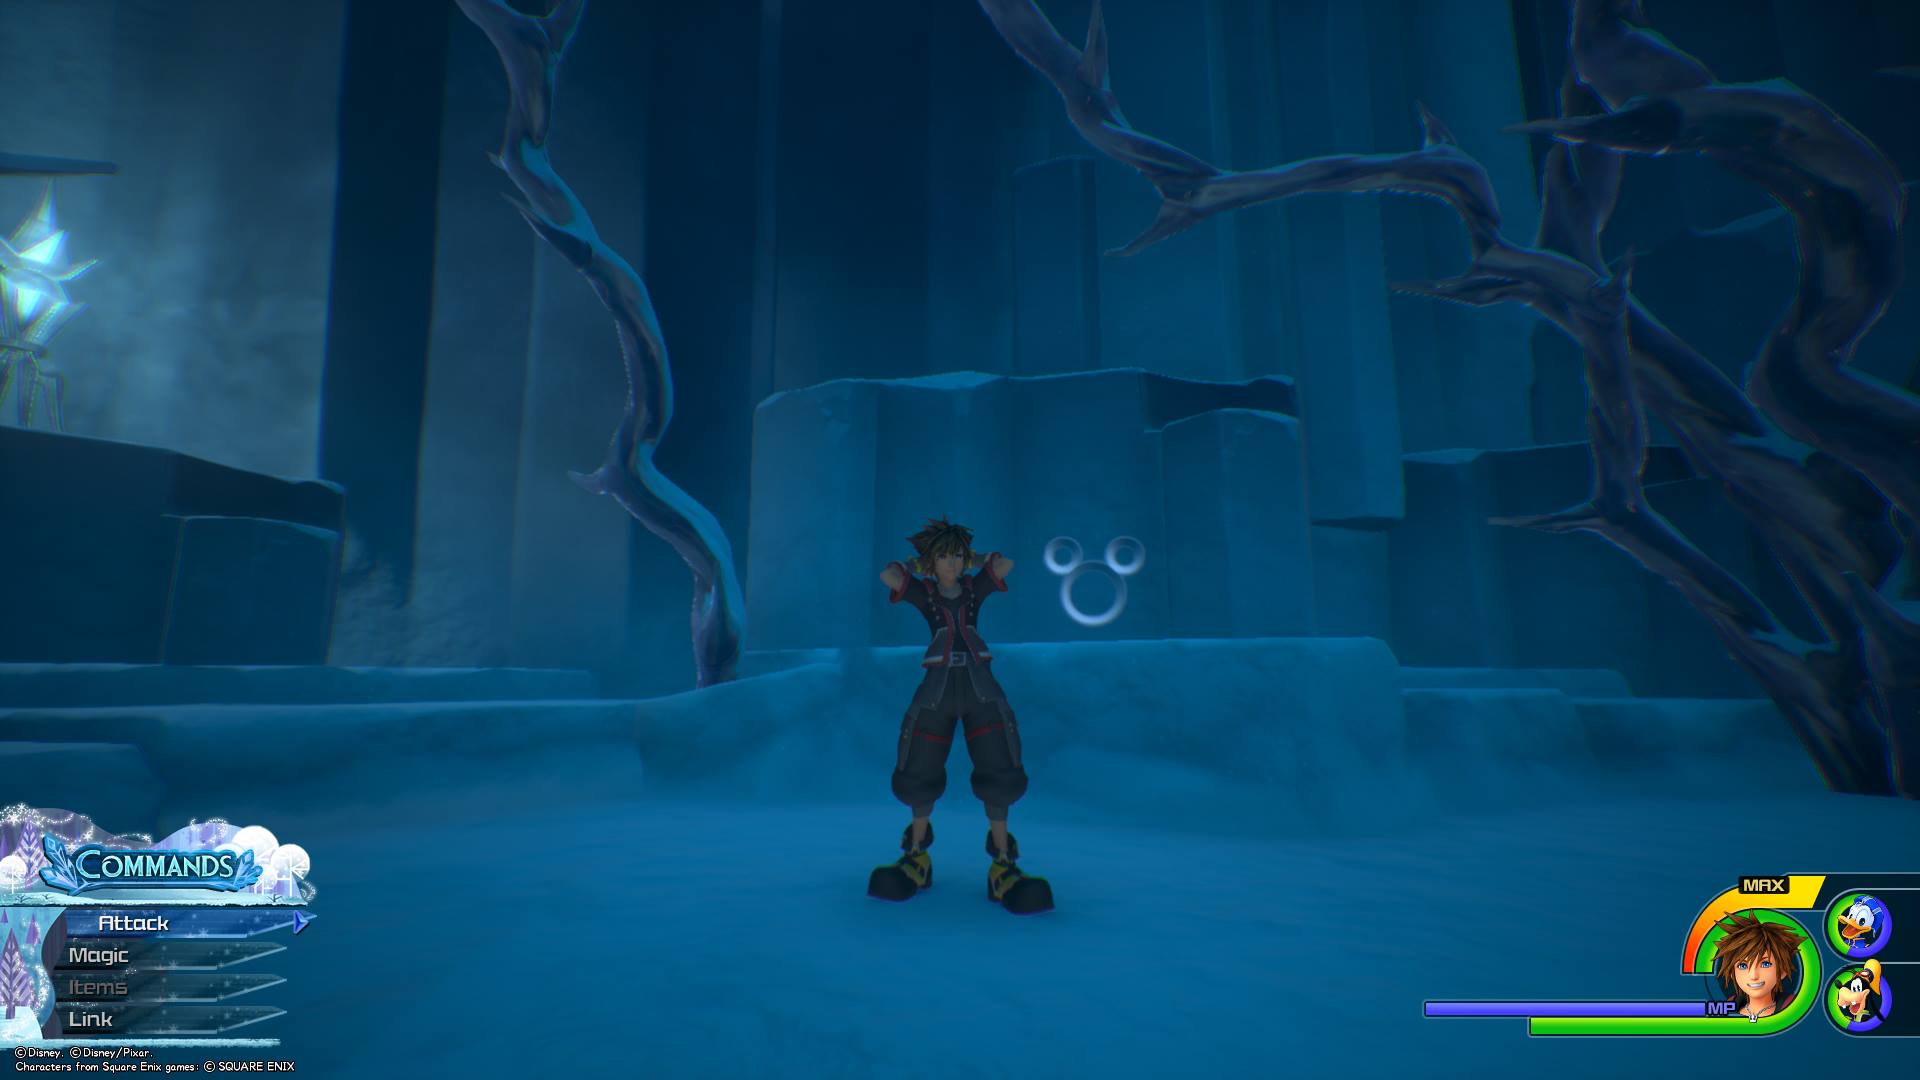
From the Lower Tier save spot in The Labyrinth of Ice, turn around and jump onto the ledge behind the save spot to enter an icy hallway. At the end of the hall, you’ll spot the second Lucky Emblem imprinted in the ice.
Arendelle Lucky Emblem No. 3
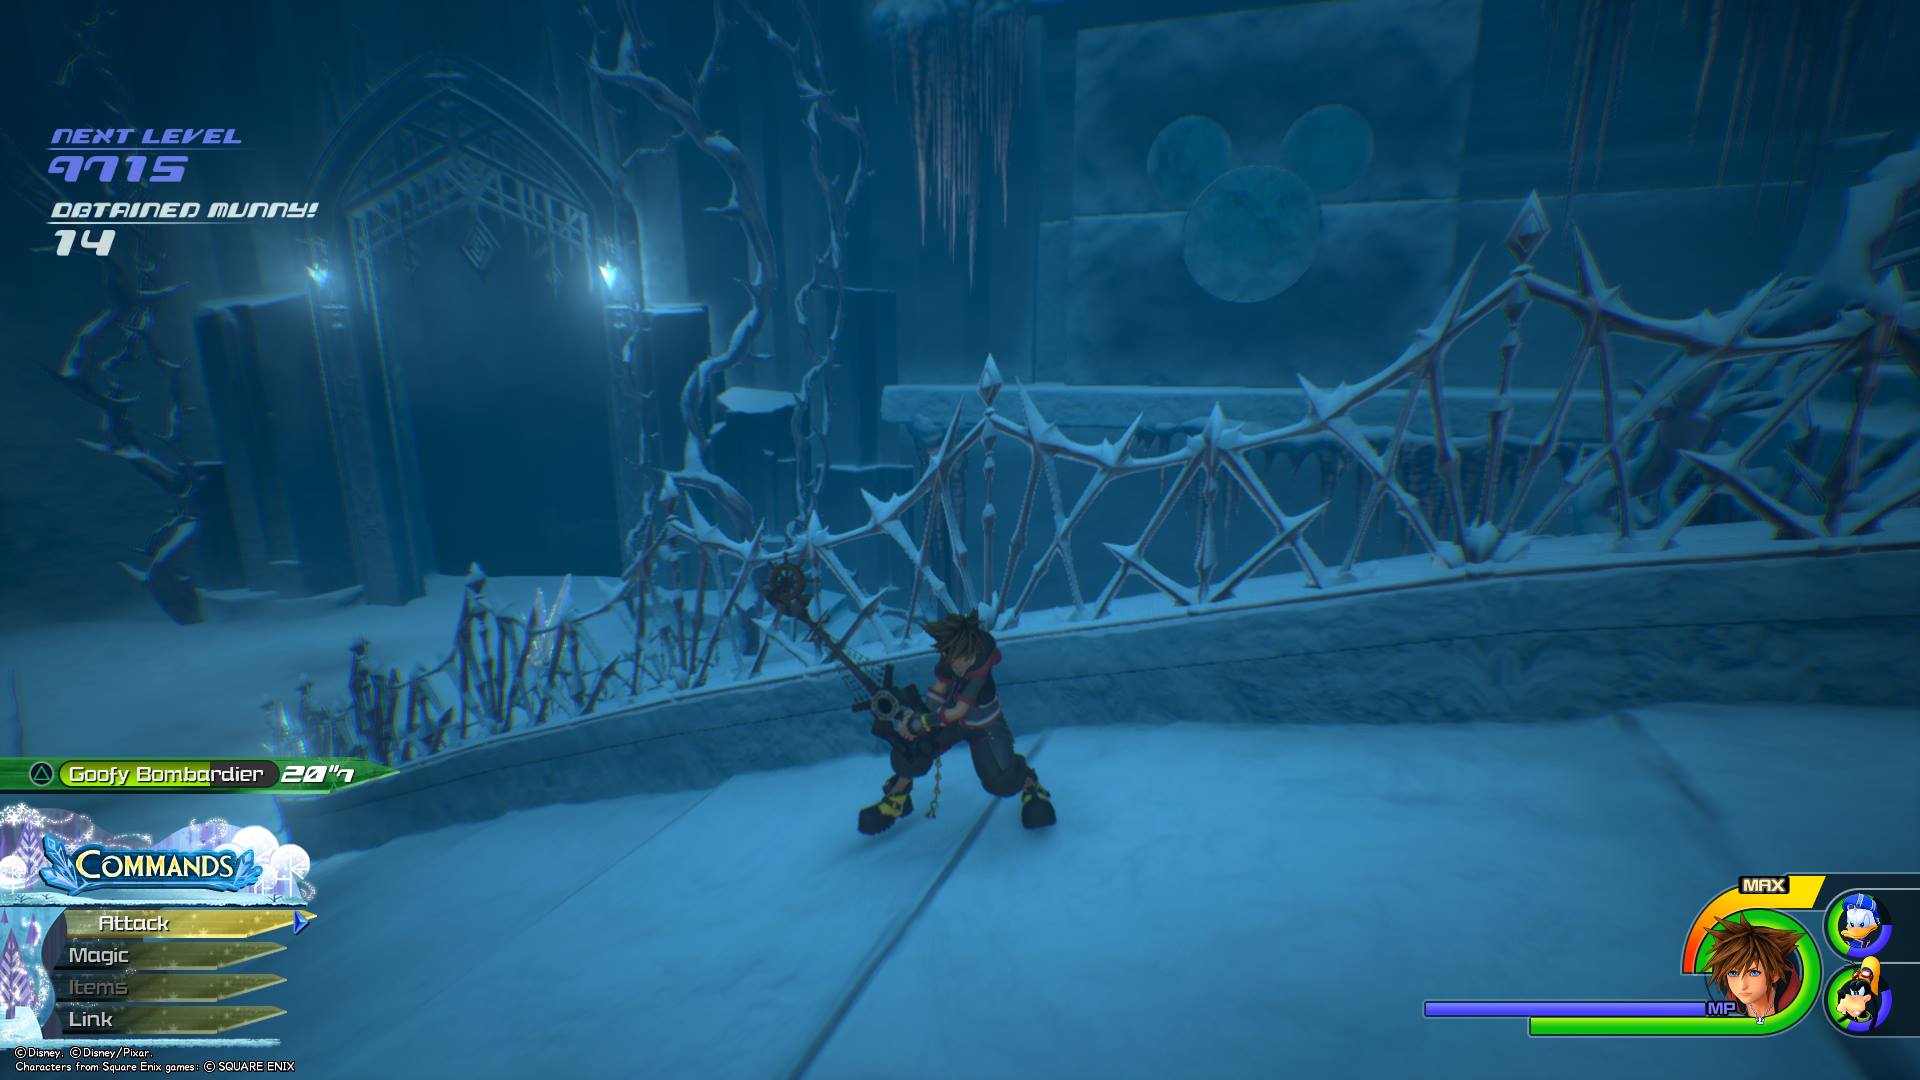
From the second Lucky Emblem, return to the circular room with the Lower Tier save spot. This time, turn left and exit the circular room into the vertical room that leads to the Middle Tier of the labyrinth. Use the Airstep ability to climb the vertical walls. When you land at the top, you’ll be in the Middle Tier. Nearby is a large bridge. As you start to cross the bridge, look to Sora’s left and you’ll be able to see the third Lucky Emblem on the wall.
Arendelle Lucky Emblem No. 4
After photographing the third Lucky Emblem, finish crossing the bridge and turn left when you come to two staircases. Follow the path, which will take you over a grind rail and down a long hallway that leads to a huge room with an elevator in the center. Use Flowmotion to interact with the elevator, so it will take Sora and the gang to the Upper Tier of the labyrinth.
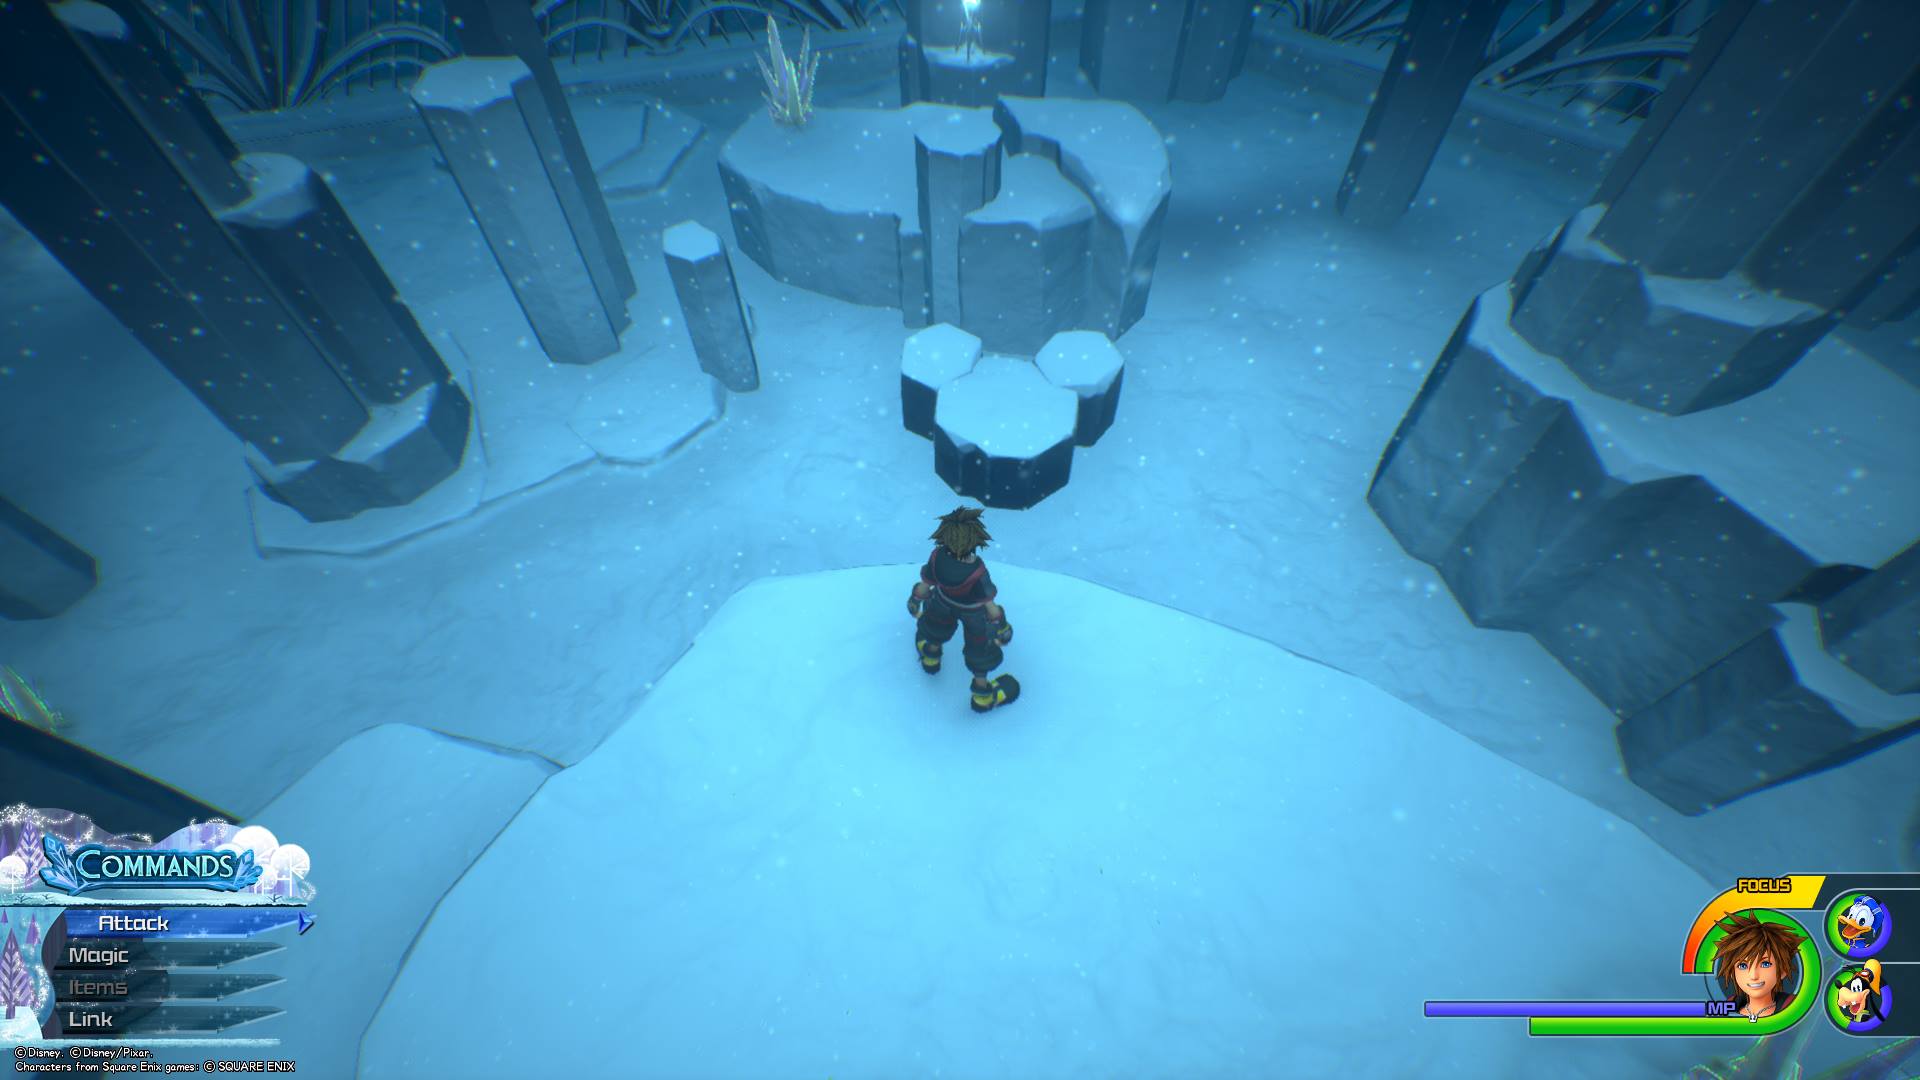
Once you leave the elevator, run to the left and use the second grind rail you come to (not counting the grind rail directly in front of the elevator). You’ll end up in a room with lots of rocky platforms sticking up from the floor. Jump onto the tall rock formation near the center of the room and look down. You’ll be able to see the next Lucky Emblem formed out of rocks below you.
Arendelle Lucky Emblem No. 5
From the fourth Lucky Emblem, return the way you came and ride the grind rail directly across from the elevator. This takes you to a room with a glowing orb in the center, which is used to exit the labyrinth. Instead of touching this orb, use Flowmotion on the elevator spire behind it to go back down to the Middle Tier.
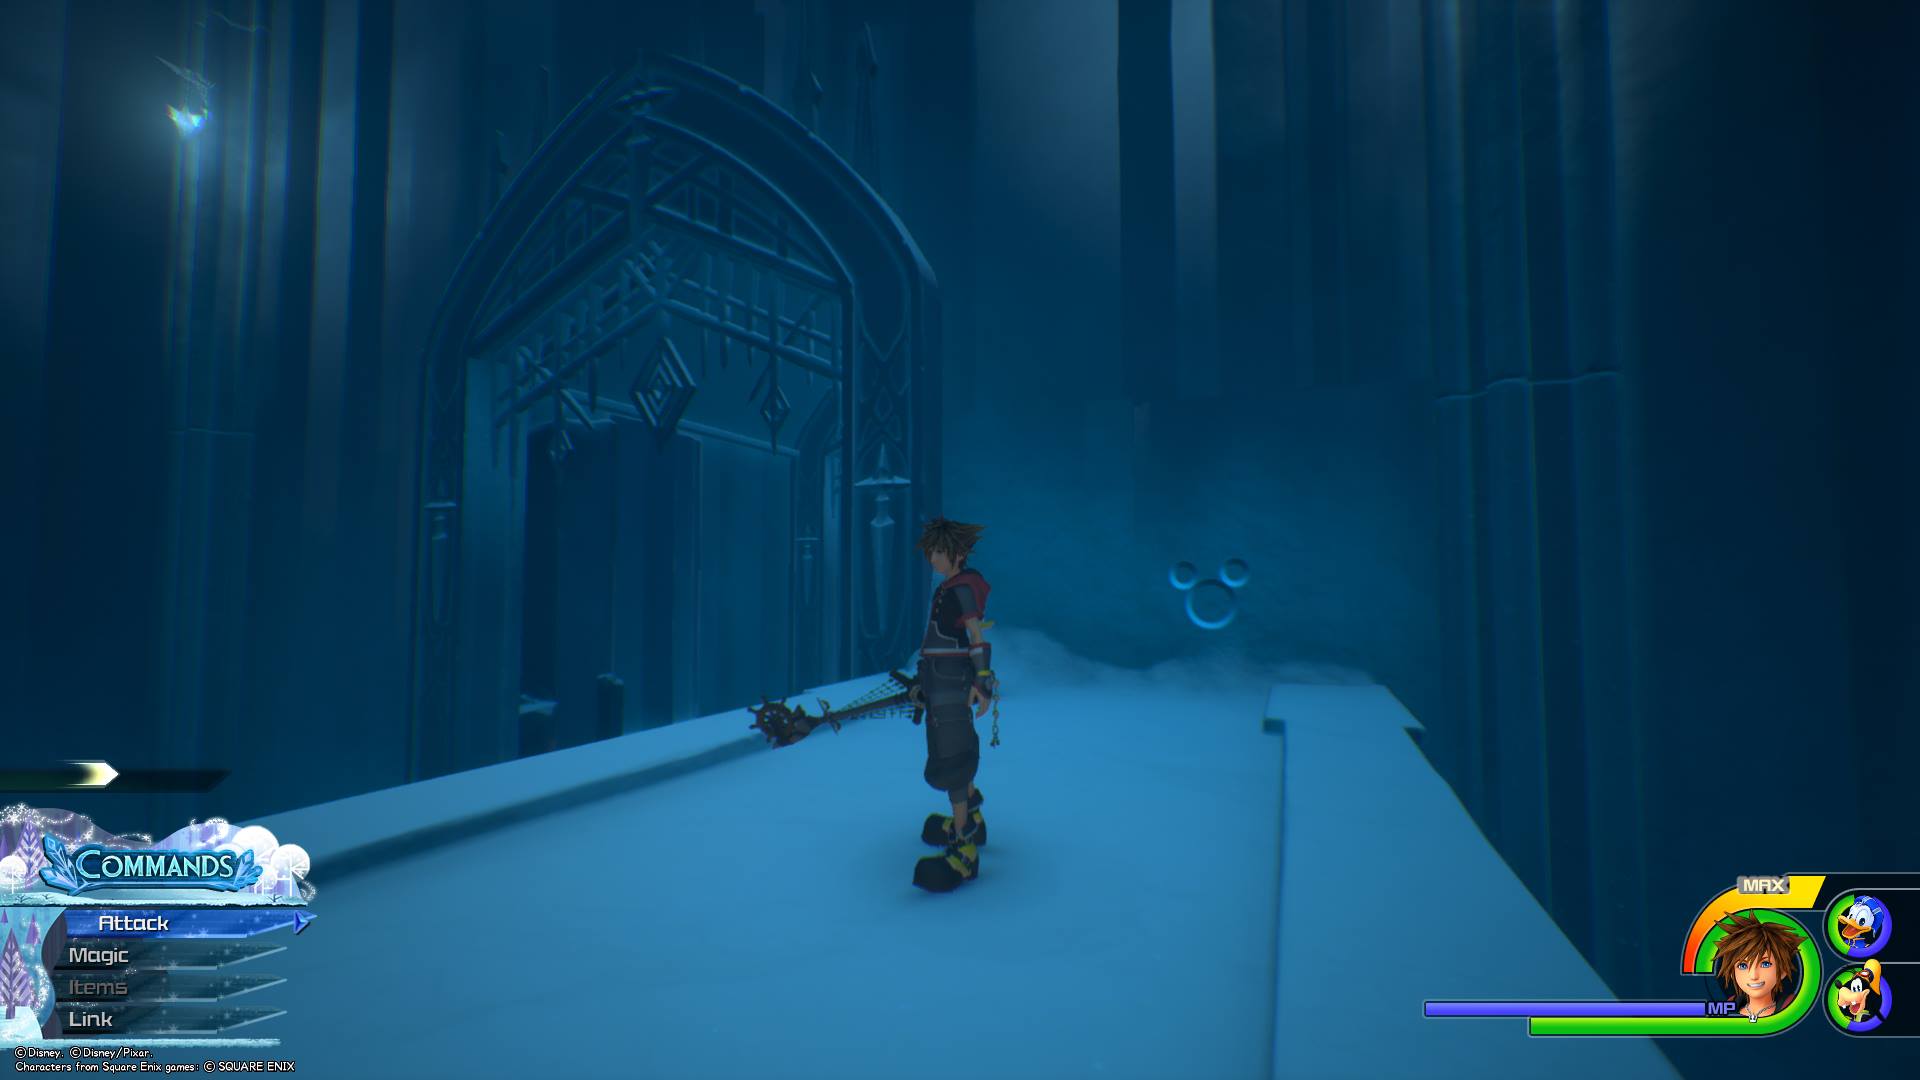
From there, follow the path forward, breaking your way through one ice wall, until you come to the bottom of a large staircase with a breakable wall to the left. Break this wall to enter a room with an archway in the center. Climb to the top of the archway and you’ll see the fifth Lucky Emblem in the wall at one end of the arch (the end near the room’s other doorway).
Arendelle Lucky Emblem No. 6

Now it’s time to leave The Labyrinth of Ice. You can do this by either backtracking from Lucky Emblem No. 5, taking the elevator up, and touching the glowing orb to exit, or continuing forward through the Labyrinth until you make your way back to the area with the Lower Tier save spot, which would allow you to warp out — it’s up to you. If you touch the orb, you’ll come out in The North Mountain area of Arendelle, near the Gorge save spot. Either way, the goal is to get to a save spot, so we can do some warping to save time.
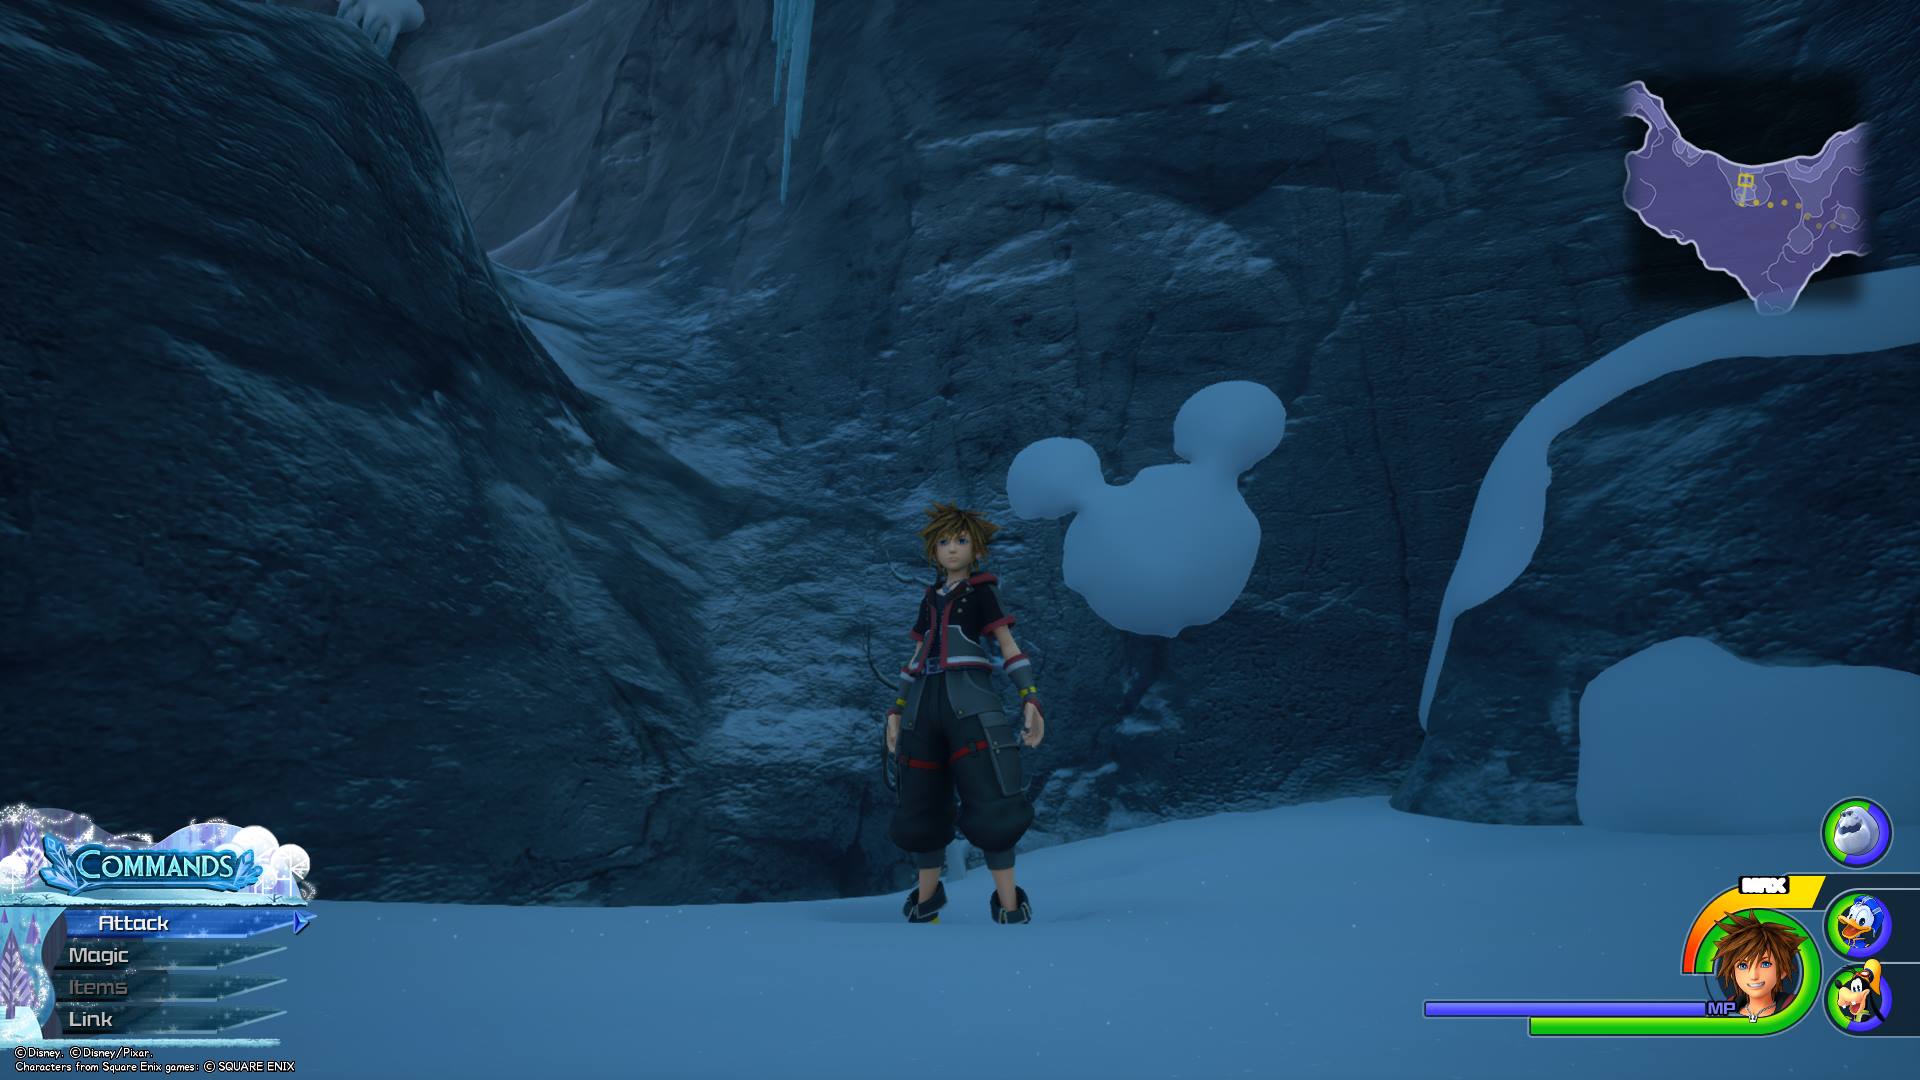
Warp to the Mountain Ridge save spot. From the Mountain Ridge save spot, turn right and run to the edge of the mountain. Make your way down two slopes, and then turn onto the third slope. Once you turn onto the third slope, you can spot the sixth Lucky Emblem on the wall to Sora’s right.
Arendelle Lucky Emblem No. 7
From the sixth Lucky Emblem, climb back up the mountain and turn right to go through a small gap in the wall across from the Mountain Ridge save spot. You’ll come out in the “Frozen Wall” area of The North Mountain. Follow the path forward for a bit, until you come to a point where you have to turn right. Instead of turning, look for the next Lucky Emblem embedded in some snow that’s attached to a rock in front of you.
Arendelle Lucky Emblem No. 8
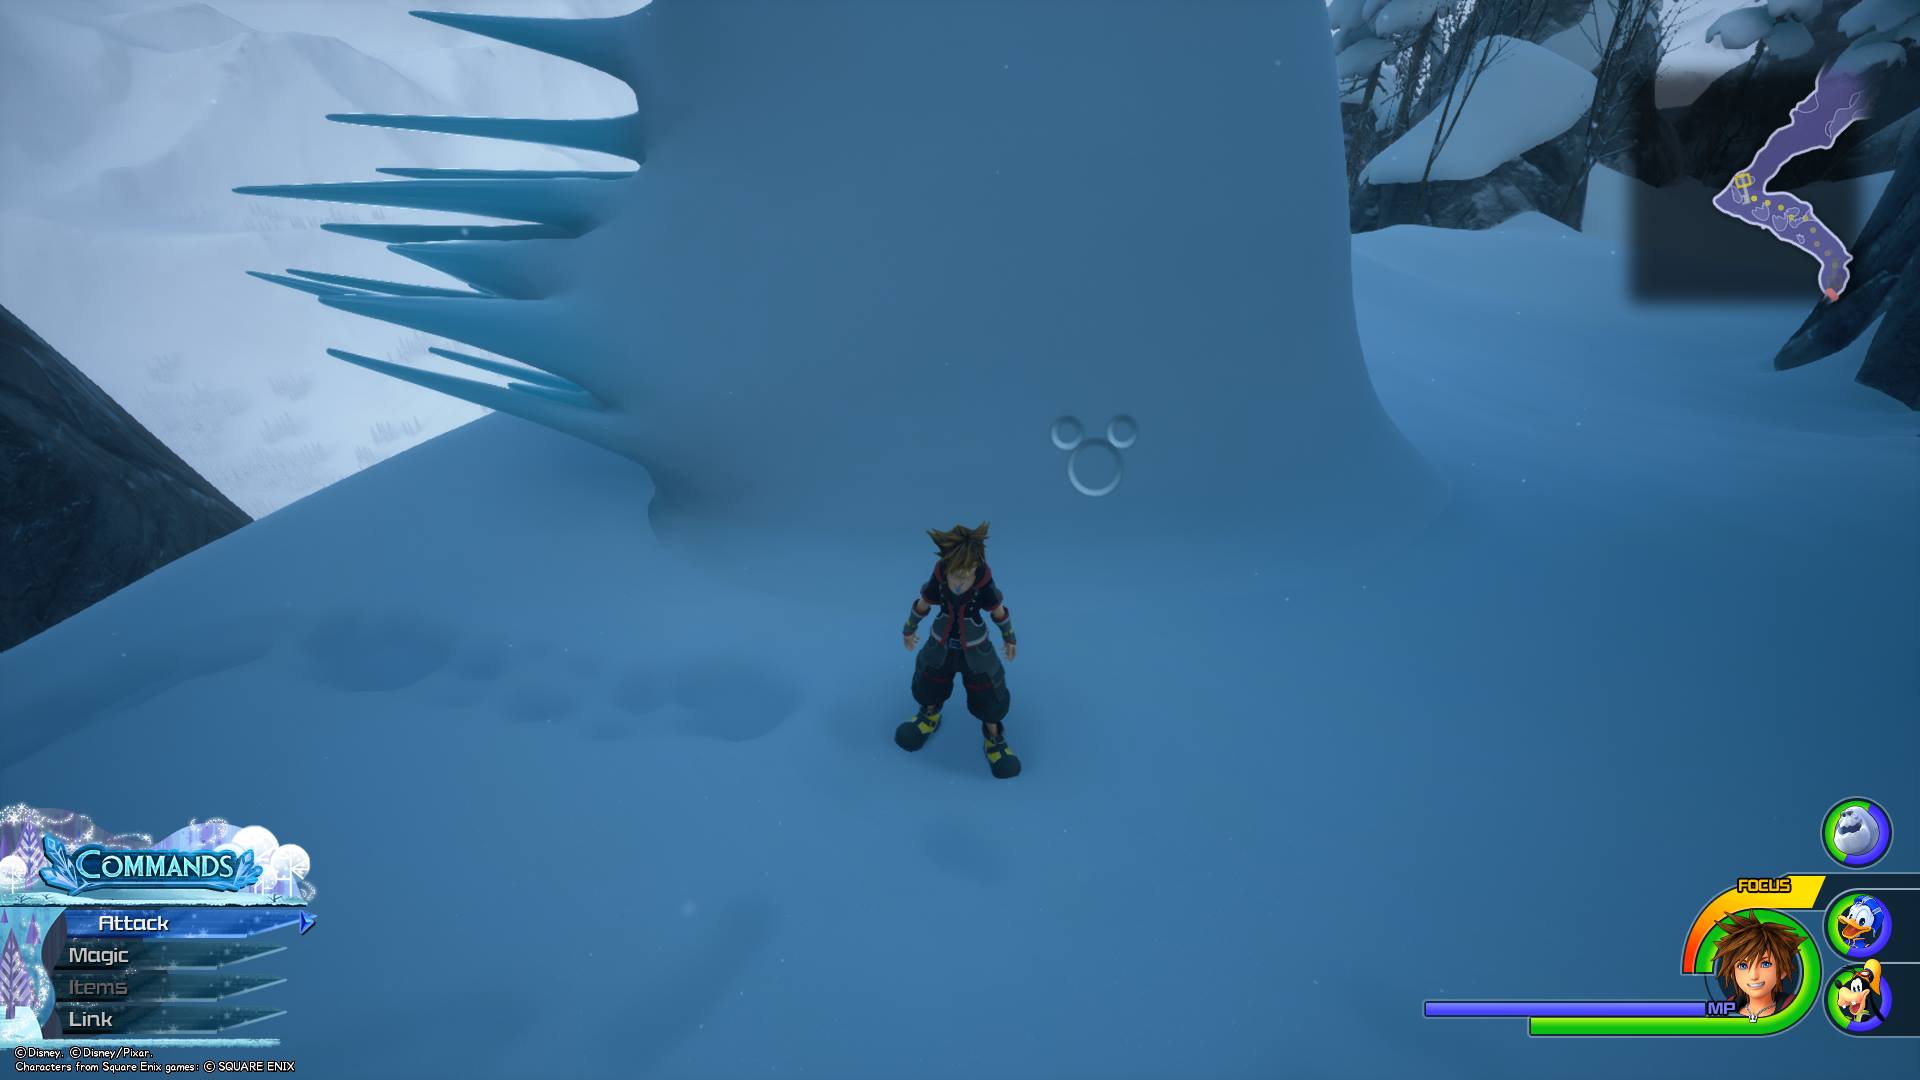
After photographing Lucky Emblem No. 7, turn right and make your way down the mountain until you come to a clearing where large enemies spawn, and you can see a tall rock wall to Sora’s right that you can climb. Climb the wall and run to the right (while on the wall). You should see a short rocky slope Sora can slide down to land on a ledge sticking out from the wall. Once you land on this platform, the next Lucky Emblem is made out of snow on the wall.
Note: This Lucky Emblem may be particularly tricky to find. If you need extra help, either watch our guide, or check the map in the corner of the image above to see the Emblem’s precise location.
Arendelle Lucky Emblem No. 9
From Lucky Emblem No. 8, climb back up the mountain and go through the hole at the end to reach the Mountain Ridge save spot. Warp to the Snowfield save spot. From there, follow the path until you come to a tall wall that you can climb. Climb the wall and turn around. The next Lucky Emblem can be found on a rock in the distance. It’s a bit hard to spot with the eye, so just open your gummiphone’s camera and look for the square highlighting the Lucky Emblem.
Arendelle Lucky Emblem No. 10

After taking a picture of Lucky Emblem No. 9, it’s time to warp again. Make your way back to the Snowfield save spot and warp to the Foothills save spot. Once there, run down the narrow path nearby to move into the “Foothills” area. Run forward for a short distance, until you see a treasure chest sitting on top of a large group of rocks on Sora’s left. Climb the rocks so that you’re next to the treasure chest, and then look down at the ground. You’ll see Lucky Emblem No. 10 on top of a rock below you.
Arendelle Lucky Emblem No. 11
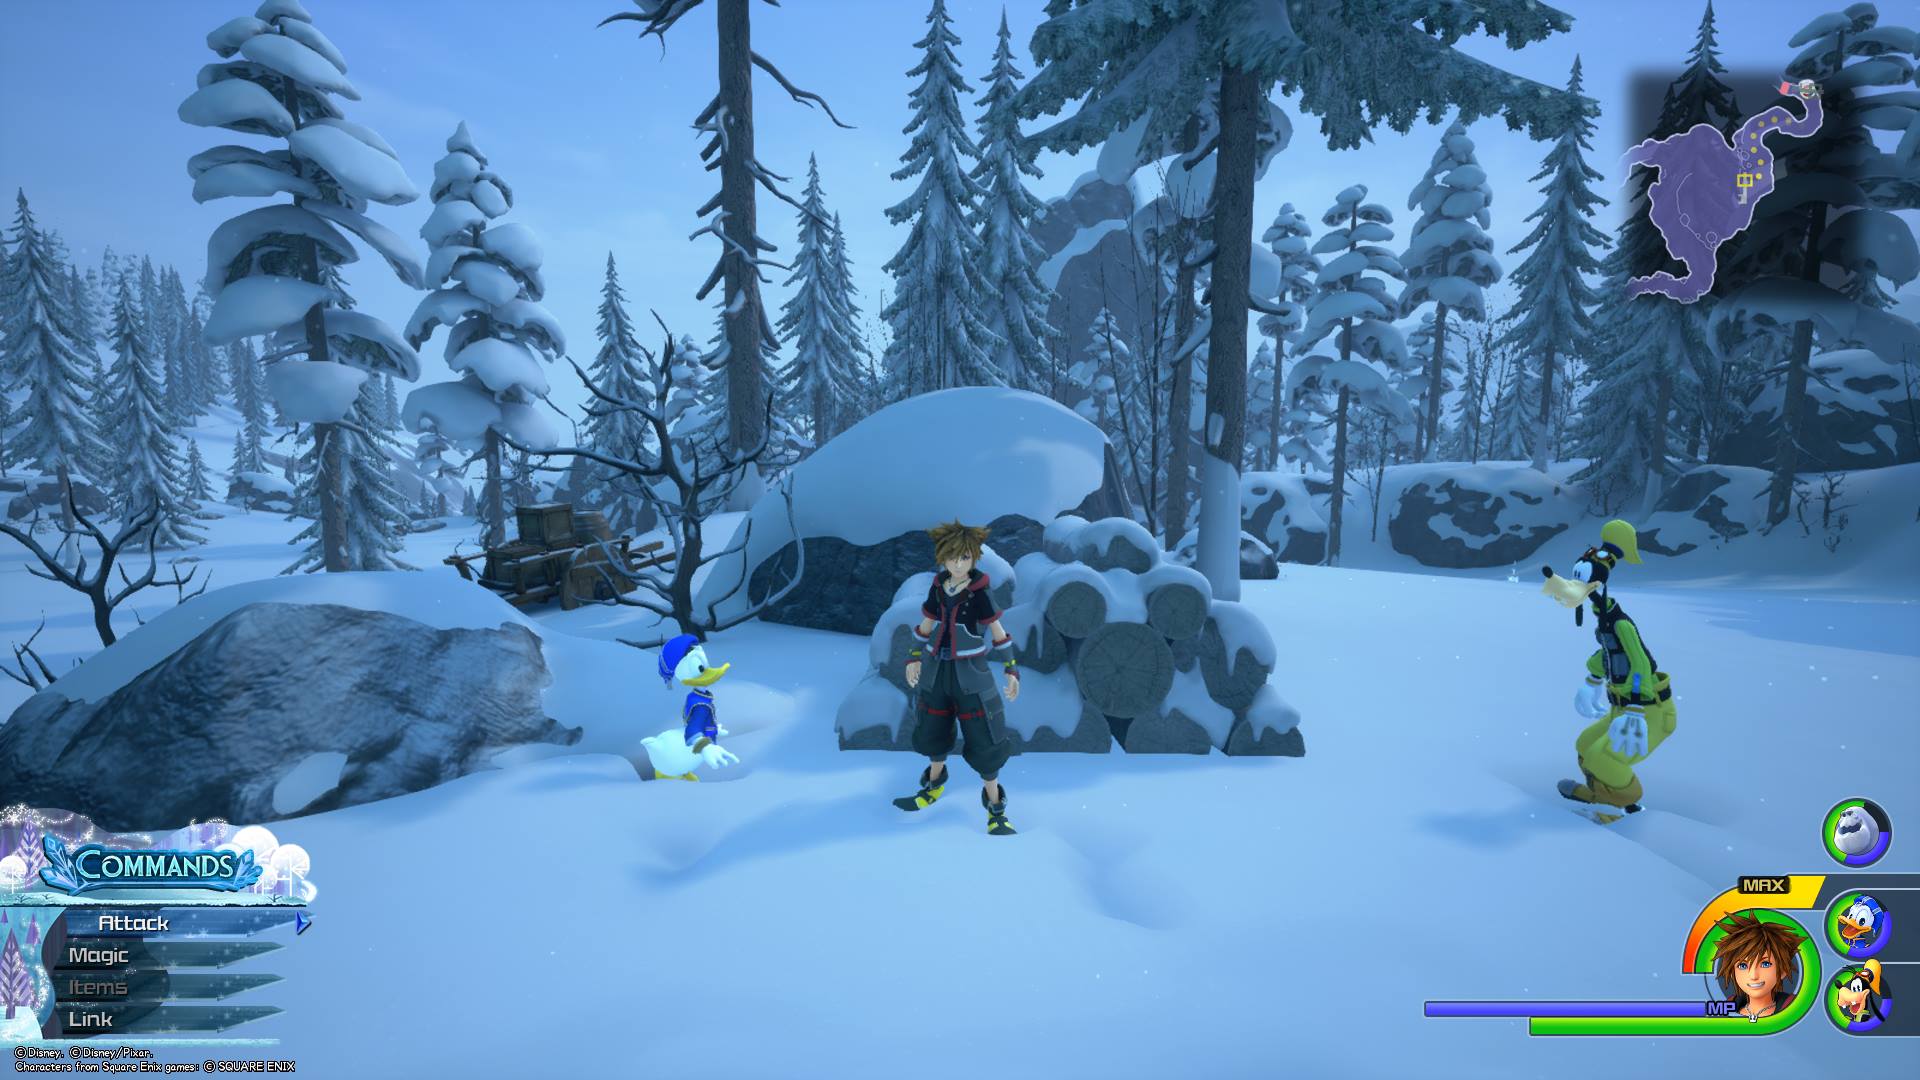
Return to the area with the Foothills save spot. Follow the path to start climbing the mountain. Once you enter a large clearing, run forward and you should see a cart to the right of a large rock in front of you. Next to the large rock is a stack of logs. Look at the end of the stack and you’ll see the final Lucky Emblem formed out of three logs.