Follow our guide to make it easier to get across the river.
Within the first few days of starting Animal Crossing: New Horizons, you’ll be asked to build your first bridge across the river on your island. That will be the only bridge you’ll have access to until the Resident Services facility is upgraded from a tent into a building.
Once that upgrade happens, you’ll be able to talk to Tom Nook to build new bridges (and inclines) all around your island to suit your needs. When you want to build a new bridge on your island, just follow these steps!
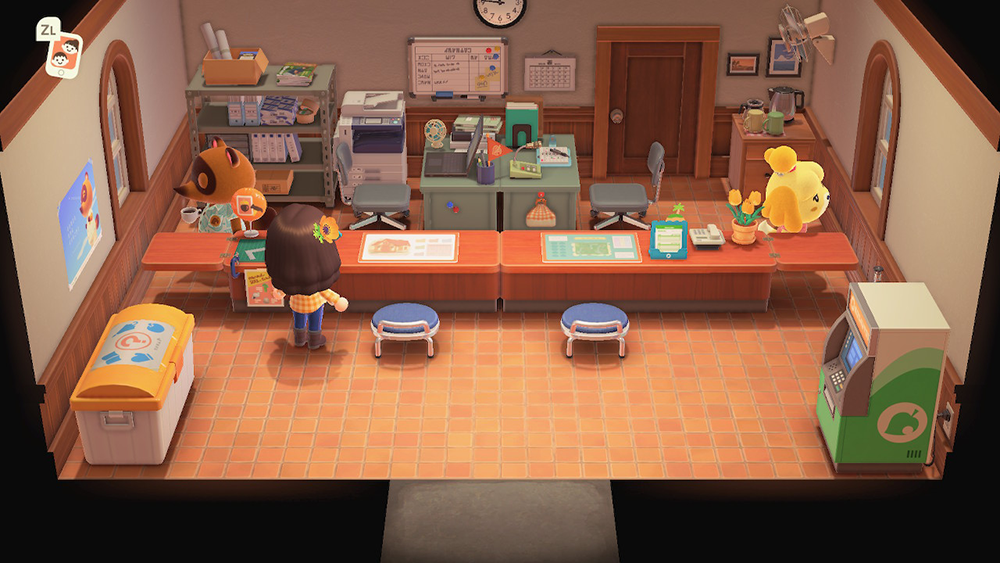
Enter the Resident Services building and sit at Tom Nook’s station (the one on the left).
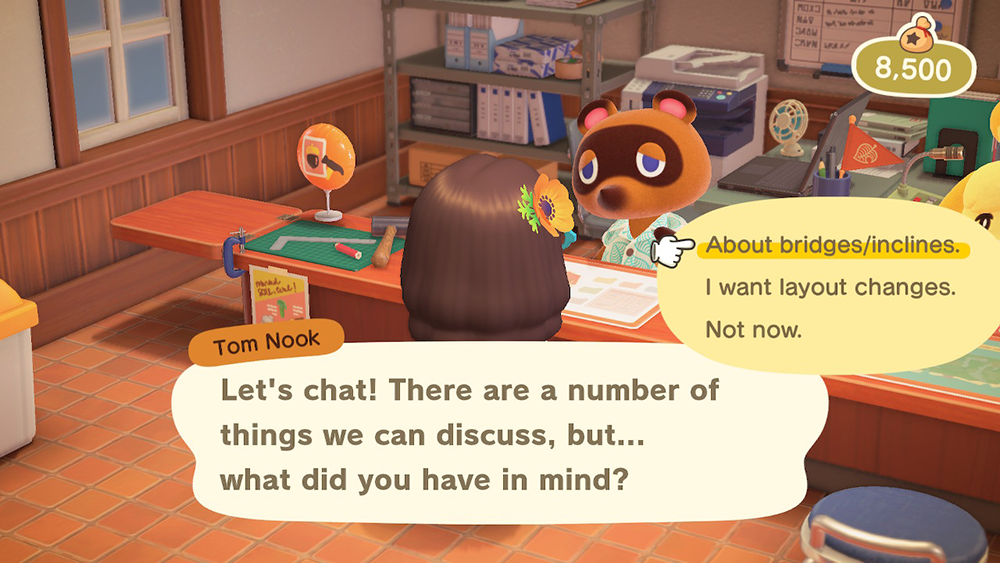
Talk to Tom Nook and select “Let’s talk infrastructure.”

Choose “About bridges/inclines.”
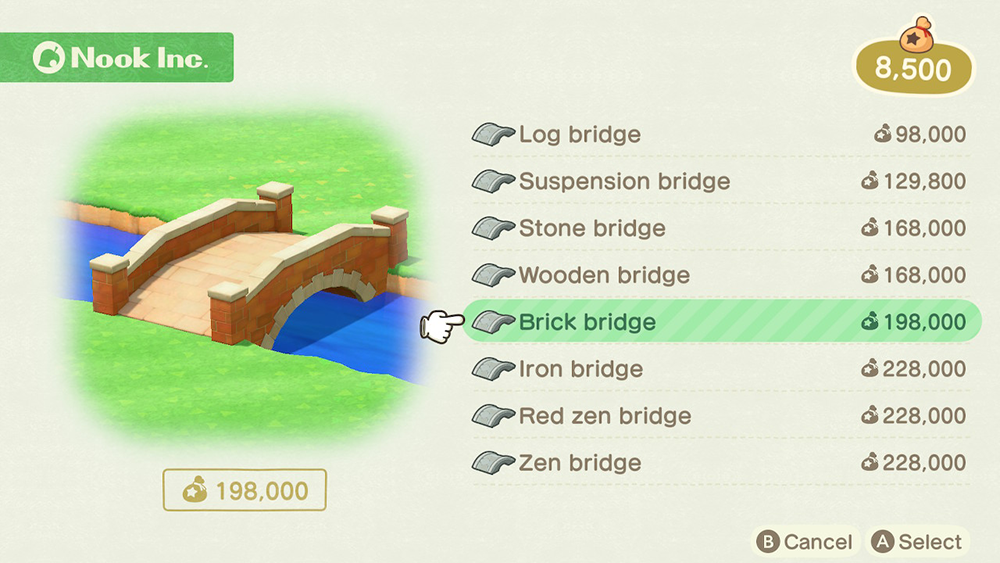
Select “Let’s build a bridge.”

Place your cursor on the bridge you want to build and press “A” to select it.
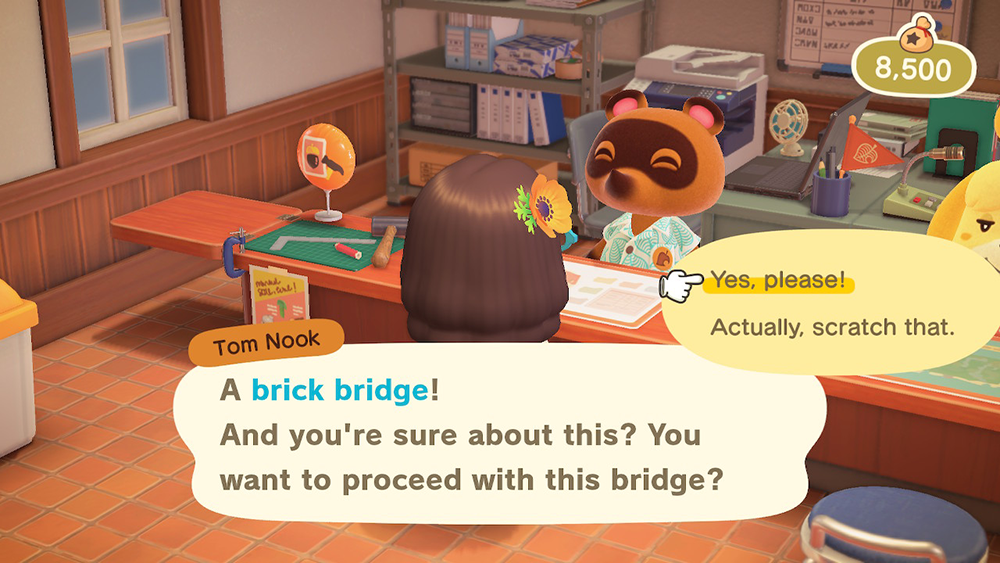
Select “Yes, please!” to confirm your choice.
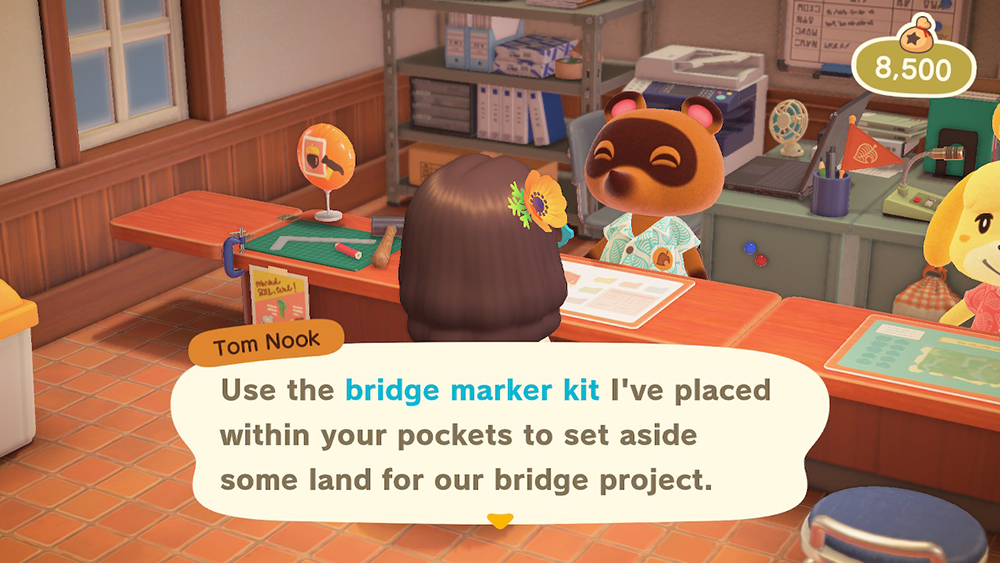
Tom Nook will give you a “Bridge marker kit” that you’ll need to use to mark where you want the bridge to be built.
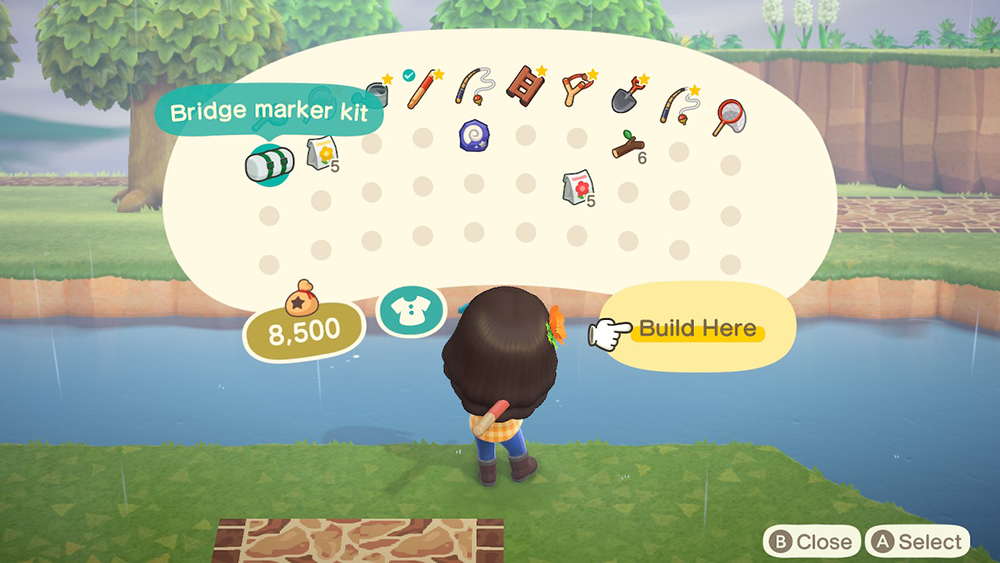
Head outside and stand next to the river in the spot where you want to build the bridge. Open your inventory, select the “Bridge marker kit,” and choose “Build Here.”
If you’ve selected a valid place for your bridge (bridges can only be placed in areas with enough land and a river that’s the right width), you’ll see an outline of where it will go. If you’re confident in your selection, choose “This is the spot!” Or, if you want to see a preview of what the bridge will look like once it’s built, choose “Let me imagine it…”

If you chose “Let me imagine it…” and you’re happy with the location, select “OK!” to finish placing the Bridge marker kit. If you need to pick another spot, select “I need to rethink it.”

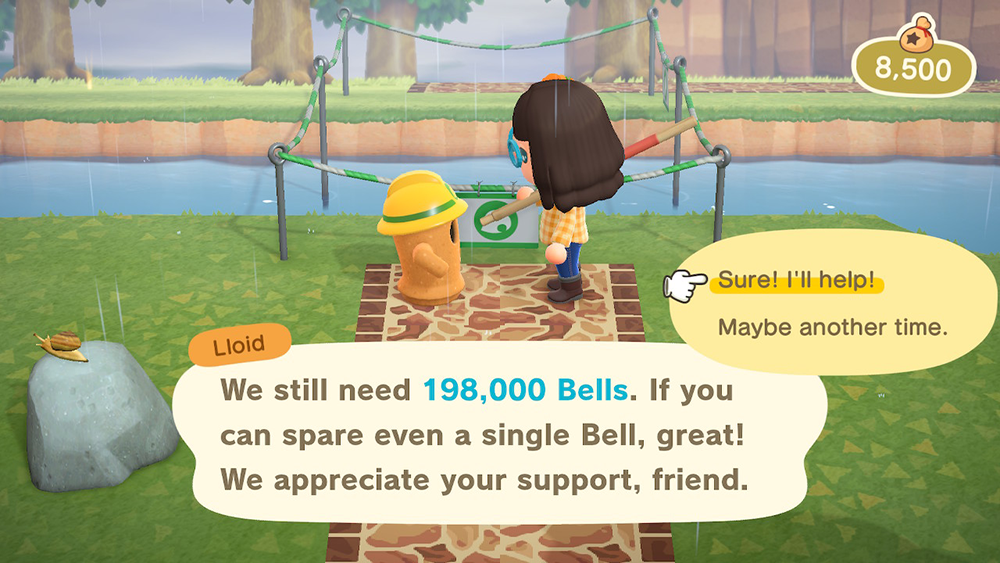
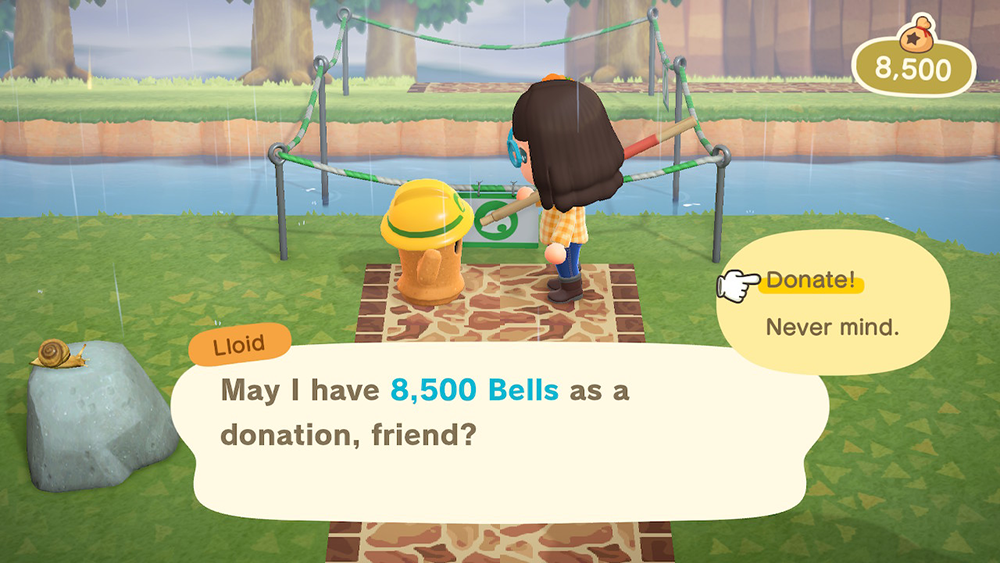
When you’re done placing the Bridge marker kit, Lloid will appear next to the construction site and will collect Bell donations toward the bridge’s construction price. If multiple players are living on the same island, they can all donate to the bridge’s construction.
If you want to donate Bells to the bridge’s construction, talk to Lloid and select “Sure! I’ll help!”
Enter the number of Bells you wish to donate, and then select “Confirm” (or press the “+” button).
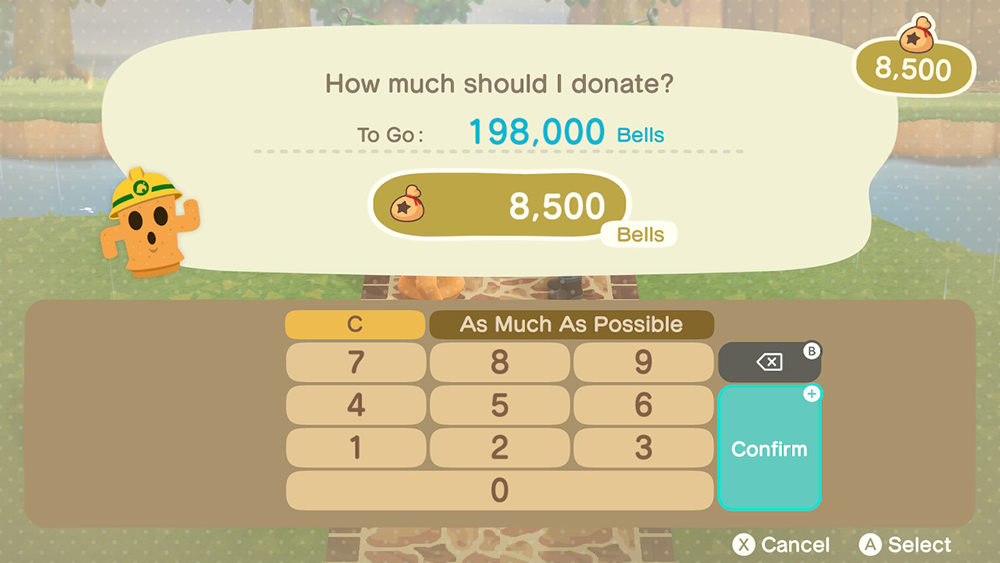
Choose “Donate!” to confirm that you want to make the donation.
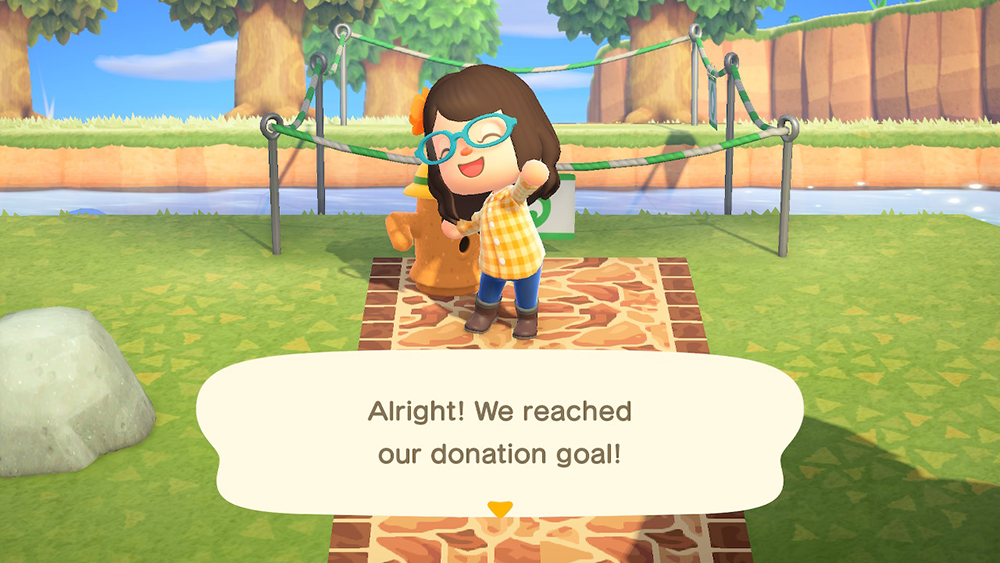
Once the required number of Bells have been donated, you can look forward to the bridge being built on your island the next day!
For more information about Animal Crossing: New Horizons, or to see more of our guides for the game, check out our previous coverage.
Disclosure: Nintendo gave SuperParent a code for Animal Crossing: New Horizons for coverage purposes.
Brandy Berthelson has been writing about video games and technology since 2006, with her work appearing on sites including AOL Games, Digital Spy, and Adweek. When she’s not gaming, Brandy enjoys crafting, baking, and traveling with her husband.